Homemade Tortillas and 7 layer Tortilla Pie…..

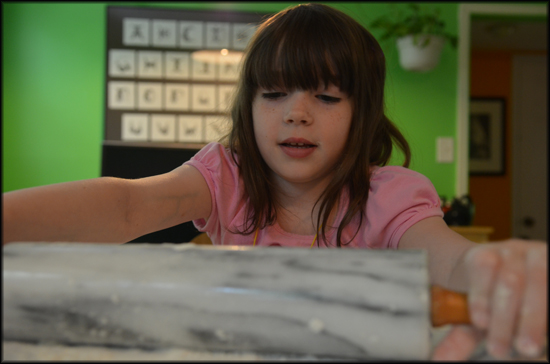
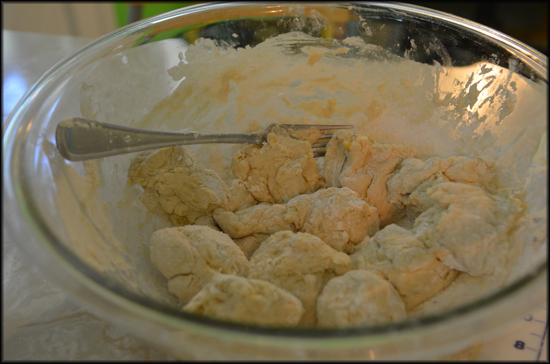
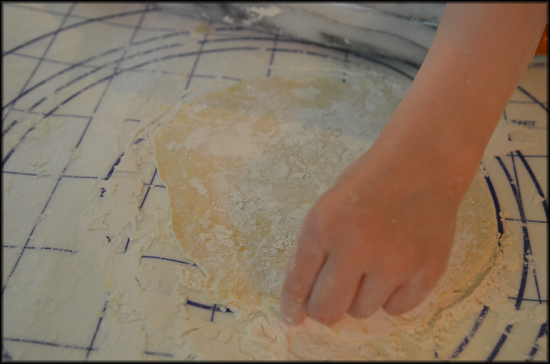
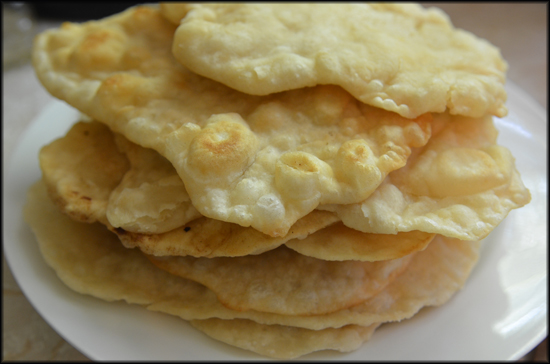
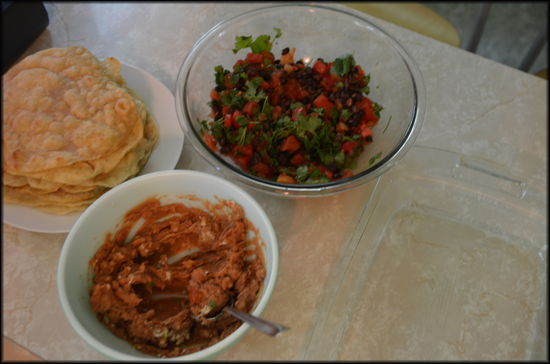
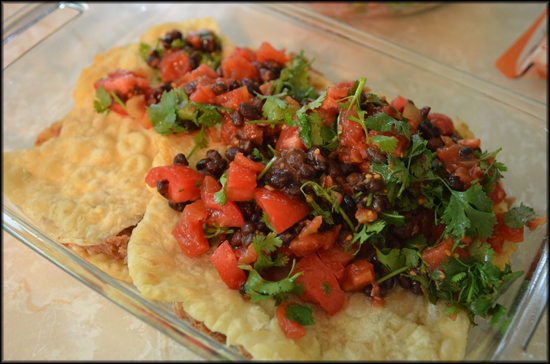
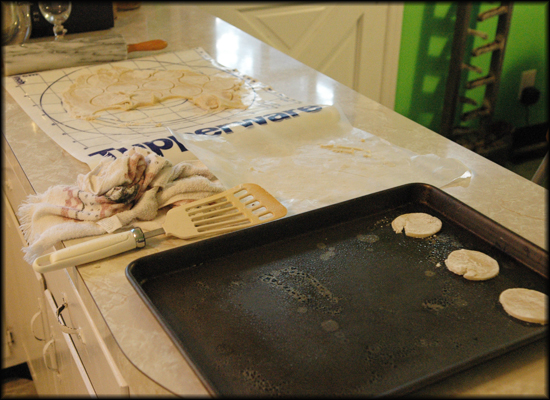
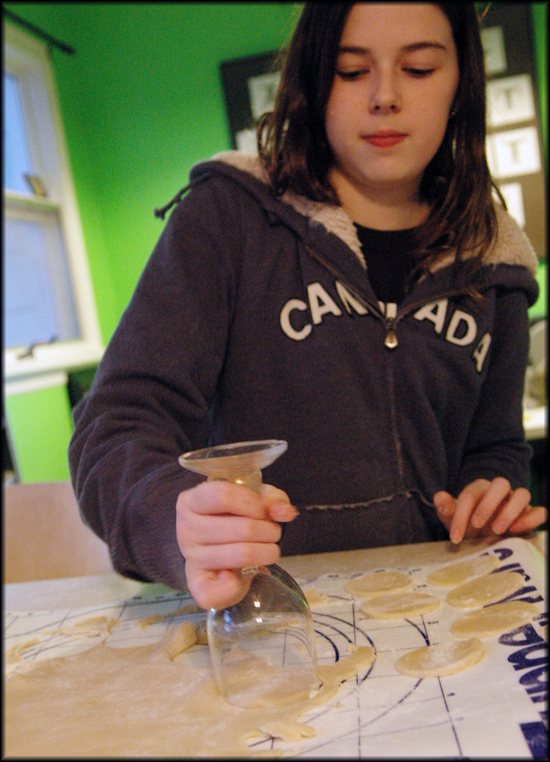
The other day I wanted to make 7 Layer Tortilla Pie, but realized I had no tortillas…so River and I made some homemade ones.  We made the dough and River did all the rolling work!  She did every tortilla while I fried them!  They turned out delicious and made the tortilla pie extra yummy!  I’m not sure if I would make them again.  They were delicious, but they were also a lot of work.  I think if I made them again, I would try freezing them, so that I could make  a lot and then have them when I needed them!  The recipe made a lot more than we needed and by the next day they weren’t as delicious.  I guess I could have just frozen the dough and then fried them when I needed them.

Seven Layer Tortilla Pie


Ingredients:

2 (15 ounce) cans pinto beans, drainedand rinsed1 cup salsa, divided2 cloves garlic, minced

2 tablespoons chopped fresh cilantro

1 (15 ounce) can black beans, rinsed and

drained

1/2 cup chopped tomatoes7 (8 inch) flour tortillas2 cups shredded reduced-fat Cheddarcheese

1 cup salsa

1/2 cup sour cream

Directions:

1. Preheat oven to 400 degrees F (200 degrees C).
2. In a large bowl, mash pinto beans. Stir in 3/4 cup salsa and garlic.
3. In a separate bowl, mix together 1/4 cup salsa, cilantro, black beans and tomatoes.
4. Place 1 tortilla in a pie plate or tart dish. Spread 3/4 cup pinto bean mixture over tortilla to within 1/2 inch of edge. Top with 1/4 cup cheese, and cover with another tortilla. Spread with 2/3 cup black bean mixture, and top with 1/4 cup cheese. Repeat layering twice. Cover with remaining tortilla, and spread with remaining pinto bean mixture and cheese.
5. Cover with foil, and bake in preheated oven for about 40 minutes. Cut into wedges, and serve with salsa and sour cream.


ALL RIGHTS RESERVED © 2011 Allrecipes.com

Printed from Allrecipes.com 7/29/2011


Garbanzo Bean Chocolate Chip Cookie Bars….

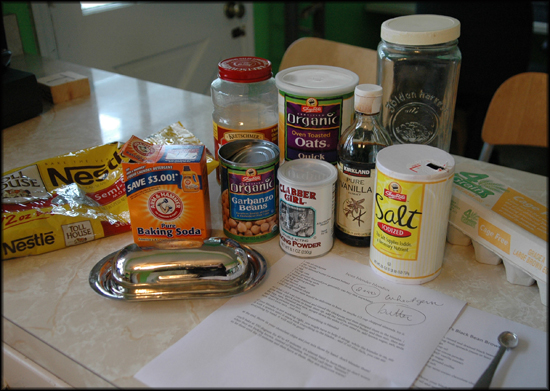
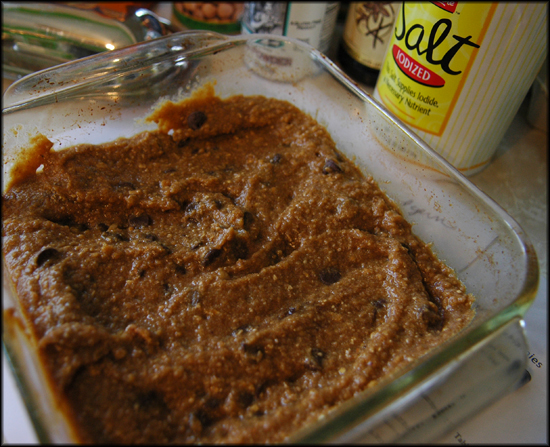
So, once again, after reading about these here….I had to try them…..with a few changes.  My daughter, Tuesday, doesn’t like peanut butter, so I omitted that and used butter instead.  Also, I love wheat germ and I put it in everything and I was feeling lazy and I didn’t feel like grinding up the flax seed in my coffee maker grinder because the coffee maker was dirty!  I decided I wanted to pretty much follow the Nestle Toll house chocolate chip cookie bar recipe.  So, I used 1/4 cup of butter instead of peanut butter and 1 tablespoon of wheat germ instead of flax seed.  So, below I have included my updated recipe.  I liked them…they were nice and buttery and moist.  I don’t think they were as good as the brownies..which I made AGAIN…yum!

Happy Monday!

Garbanzo Bean Chocolate Chip Cookie Bars

1 can of chickpeas
2 tsp vanilla
1/4 cup almond butter (or peanut butter) (or 1/4 of butter!)
1 egg
1/4 cup oats
1 Tbsp ground flaxseed(or 1 tbsp of wheat germ)
1 teaspoon baking soda
1/8 tsp baking powder
1/2 tsp salt
1 cup brown sugar
1/2 cup chocolate chips
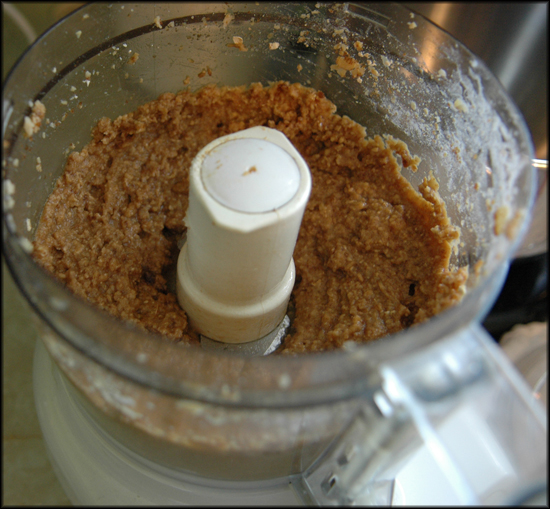
Drain and rinse the chickpeas and then put them in the food processor or blender and pulse a few times.   Add the vanilla, almond butter (or whatever you choose) and then mix again. Then add the egg, oats, flaxseed (or wheat germ) and mix. Scrap down the sides if you need to add brown sugar, salt, soda and baking powder and blend again.  When done blending, add in the chocolate chips, you don’t need to blend the chocolate chips. Put into a greased 8 x 8 pan.

Bake at 350 degrees for 40 to 45 minutes.

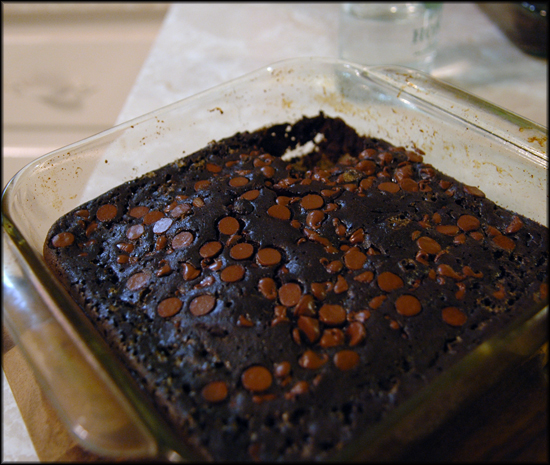
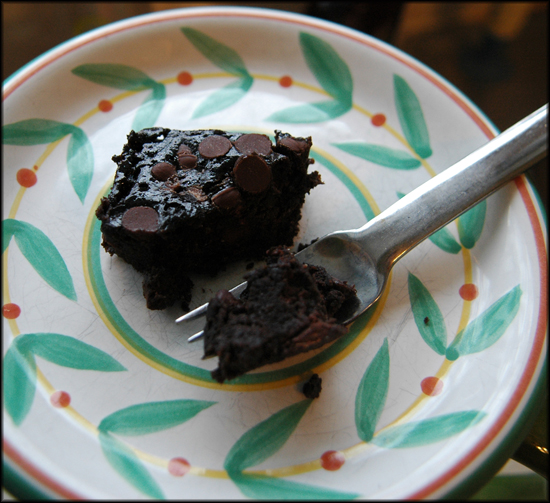
Black Bean Brownies…

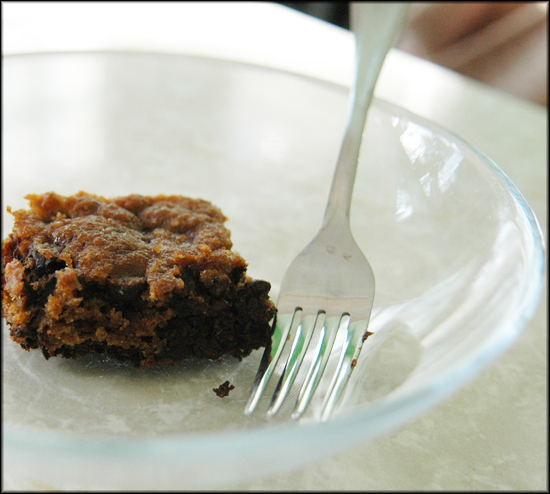
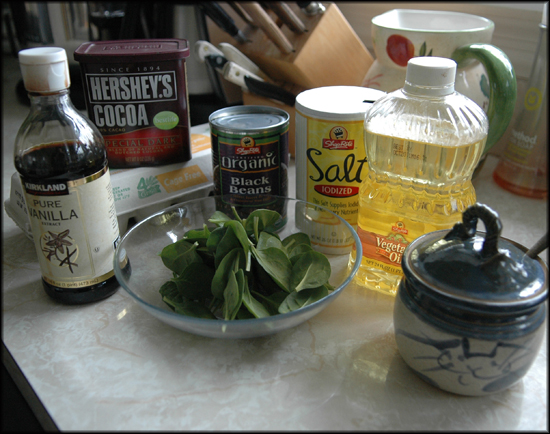
So, after reading about Black Bean Brownies here, , I had to try them.  I was a bit skeptical, but they were delicious.  And everyone of my children loved them also. They were easy.  The black beans and spinach replaces the flour.  Give them a try.  And let me know what you think.  I added more chocolate chips than the recipe called for (1 cup).  I also used dark cocoa powder.  I omitted the coffee, because I didn’t think my children would like that.

Ingredients

  • 1 (15.5 ounce) can black beans, rinsed and drained
  • 3 eggs
  • 3 tablespoons vegetable oil
  • 1/4 cup cocoa powder
  • 1 pinch salt
  • 1 teaspoon vanilla extract
  • 1/2 cup white sugar
  • 1 teaspoon instant coffee (optional)
  • 1/2 cup milk chocolate chips (optional)

Directions

  1. Preheat oven to 350 degrees F (175 degrees C). Lightly grease an 8×8 square baking dish.
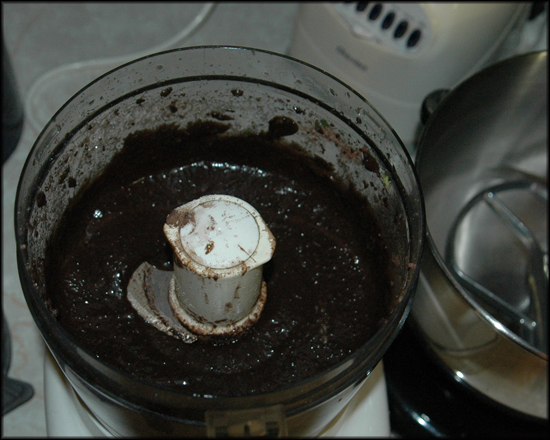
  2. Combine the black beans, eggs, oil, cocoa powder, salt, vanilla extract, sugar, and instant coffee in a blender; blend until smooth; pour the mixture into the prepared baking dish. Sprinkle the chocolate chips over the top of the mixture.
  3. Bake in the preheated oven until the top is dry and the edges start to pull away from the sides of the pan, about 30 minutes.

Nutritional Information open nutritional information

Amount Per Serving Calories: 126 | Total Fat: 5.3g | Cholesterol: 40mg

Sweet Potato Bread for the bread machine….

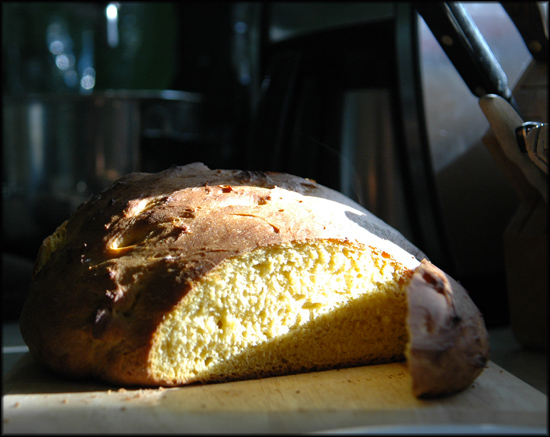
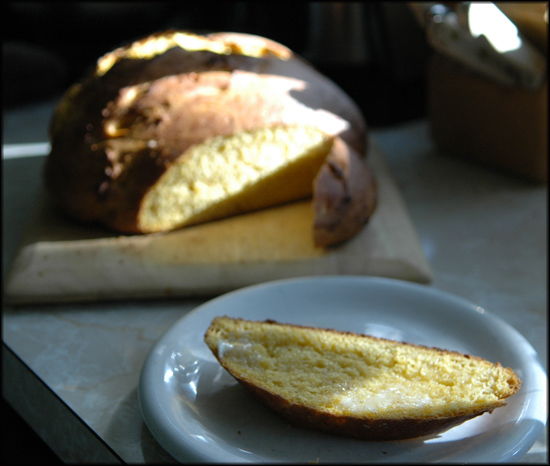
I had a left over sweet potato, and I decided to make a loaf of bread out of it.  I have never made sweet potato bread before, so I needed to look up a recipe…..so, off to the internet I went.  I also knew I wanted to use my bread machine.  I found a recipe and adapted it.  I wasn’t sure how it was going to turn out…but it was delicious….especially slathered in butter.  It reminded me of a pumpkin bread.

Sweet Potato Bread for bread machine

Adapted from a recipe by Mary E. Crain from http://allrecipes.com/Recipe/sweet-potato-bread-i/detail.aspx

Ingredients

  • ½ cup water
  • 1/2 cup sugar
  • ¼ cup vegetable oil
  • 2 eggs
  • 3-4 cups sifted all-purpose flour (depending on how much your bread machine prefers!)
  • 1/4 teaspoon salt
  • 1/2 teaspoon ground cinnamon
  • 1/2 teaspoon ground nutmeg
  • 1 cup cooked and mashed sweet potatoes
  • 1/2 cup chopped pecans (optional)
  • 2 teaspoons yeast

Directions

  1. Combine all ingredients into your bread machine in the order listed.  Set for sweet, dough cycle.
  2. When finished, bake at approximately 350° – 375° in your oven for approximately 20 minutes.

Strawberry Jam…take two….

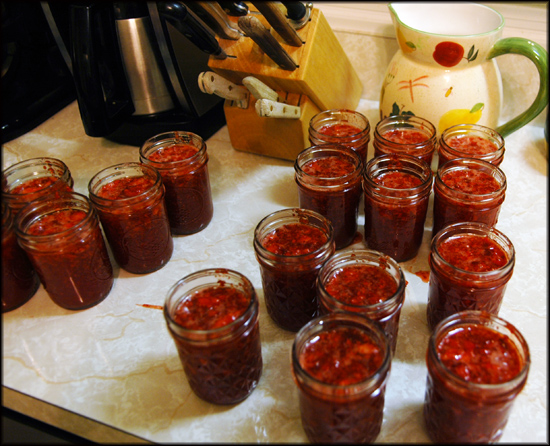
Did I tell you that all the jam we made with my mother-in-law didn’t turn out….it turned into syrup….I guess too many cooks in the kitchen does spoil the brew..or something like that.  Anyway, after our strawberry picking, I knew we had to give the strawberry jam another chance.

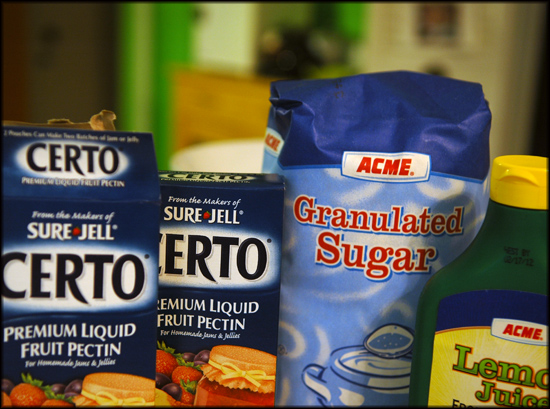
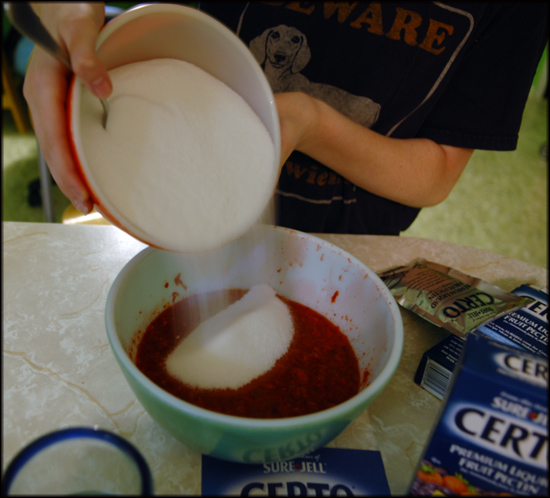
It really is incredibly simple.  We went out and bought 2 cases of jelly jars, Certo premium liquid fruit pectin, lemon juice, and sugar.  That’s all you need….except for the fruit!  The whole process only takes about 1/2 hour..but my mother-in-law warned me to never double or triple the recipe.  She said it never comes out…so, to make things quicker, I made a batch, Quinn made a batch, and Tuesday made a batch…all at the same time!

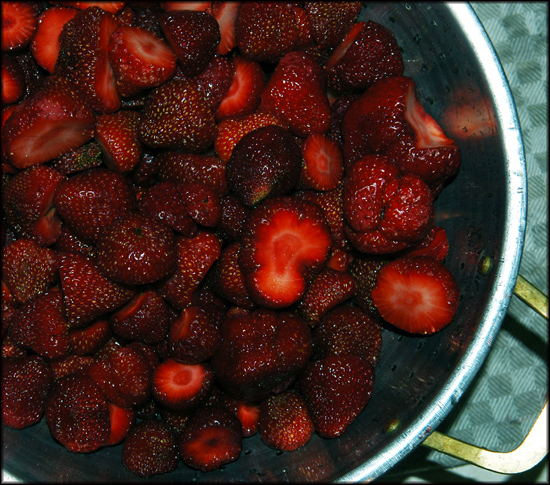
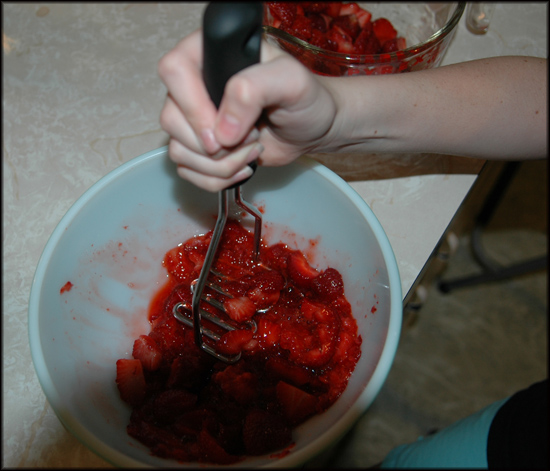
The recipe is inside the Certo box.  First, you have to wash and rinse the strawberries and de-stem them.  Once that is done you measure out 4 cups and start mushing them up.  We realized that putting them in the food processor is much easier and quicker!

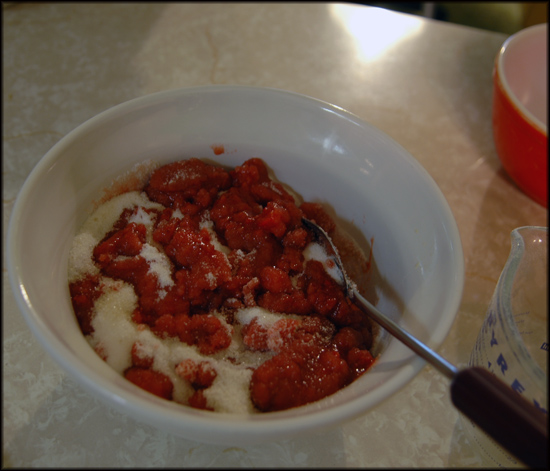
Then you add the sugar, all 4 cups!!  That is a lot of sugar!!  Maybe next time I’ll try to cut down on the sugar..but who knows…I guess you don’t mess with a good thing!  After you add the sugar, you start to stir it and let it stand for 10 minutes, stirring every now and then.

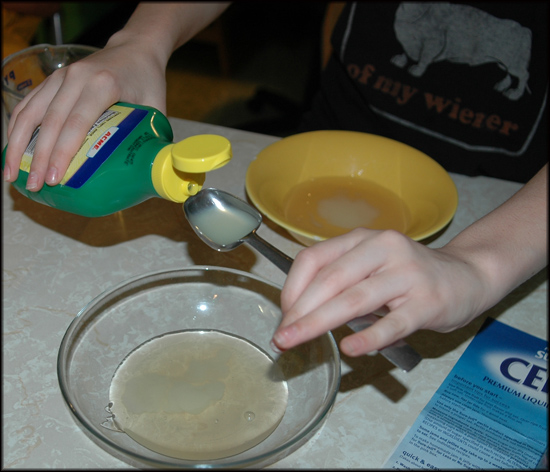
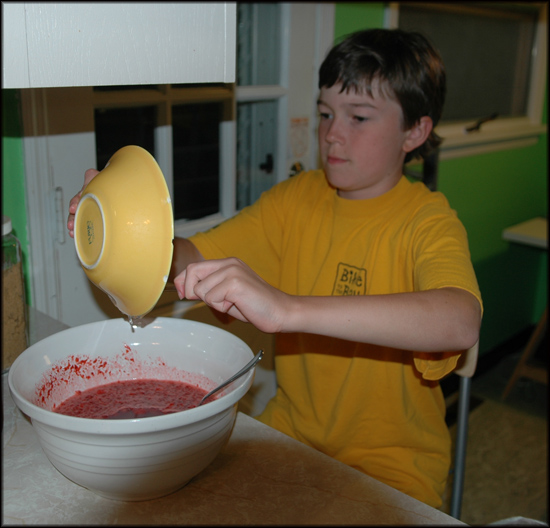
Then, you stir the packet of pectin into 2 tablespoons of lemon juice and pour it into the prepared fruit.  Once you do this…you have to stir the bowl constantly for 3 minutes.

Then you are done..except for putting all the fruit into your jelly jars.  You let it sit at room temperature for 24 hours…and if everything went well, it should gelify (not sure if that is a word).  Then you store it in the freezer for up to a year!

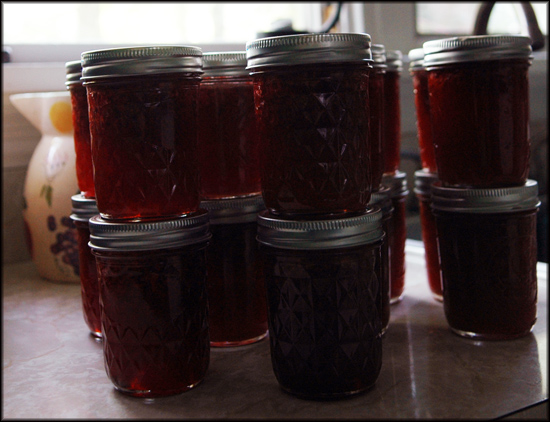
So, we made 24 jars of jelly (I made another batch on my own!) for about $30..not bad!!  Hopefully, that will last us until next Strawberry season!

English Muffins…..homemade using the bread machine…

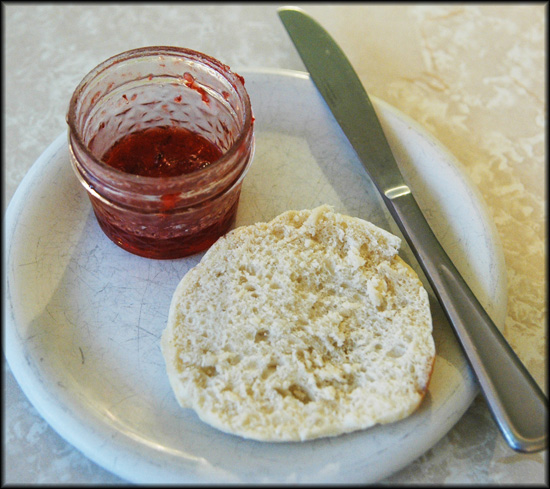
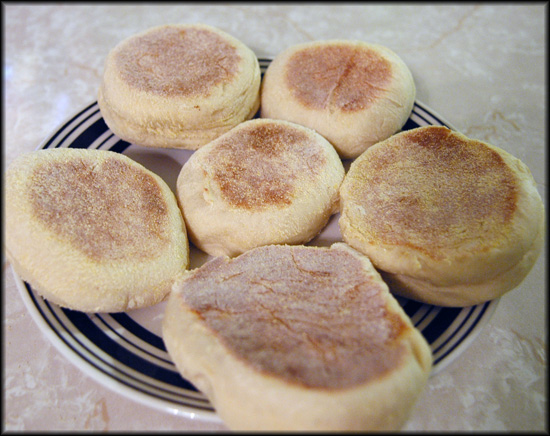
Tuesday loves to eat English muffins for breakfast..but I wasn’t thrilled with the ingredients in Thomas’ English Muffins…lots of artificial stuff.  So, I looked for a good recipe, using the bread machine, of course…and I found a keeper!  I found it on the King Arthur flour website.  I cut down the amount of sugar and I think next time, I may try to make them with whole wheat flour.

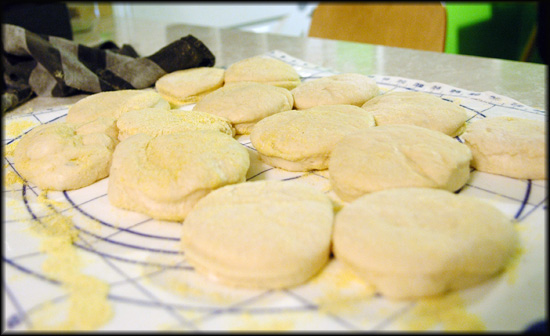
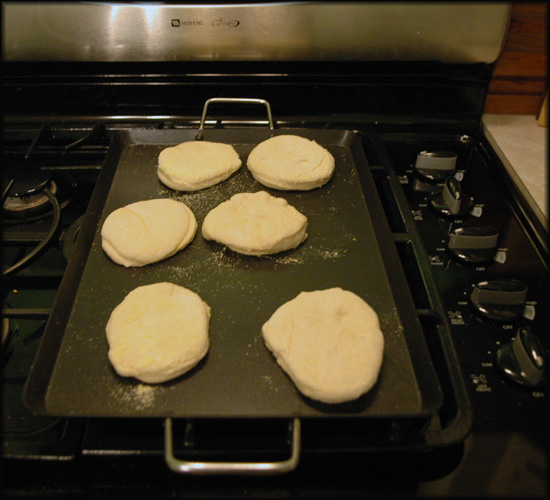
It was a pretty easy recipe.  The bread machine did most of the work.  I had to roll it out onto corn meal and cut into 3 inch circles.  After it rose for a bit, you had to cook them on a griddle…who knew!

I had no idea that is how you made an English Muffin!  But they turned out great…and great tasting…and they even looked like English Muffins.  My daughter did say they didn’t have as many nooks and crannies..but hey, maybe the next batch will!

English Muffins

1 3/4 cups milk, warm
3 tablespoons butter
1 1/4 teaspoons salt
2 teaspoons granulated sugar
1 large egg, lightly beaten
4 to 4 1/4 cups Unbleached Bread Flour
2 teaspoons instant yeast

Place the ingredients in the pan of your bread machine following the manufacturer’s instructions. Use the “dough” or “manual” setting. After the cycle is complete, transfer the dough to a cornmeal-sprinkled surface and roll it out until it’s about 1/2-inch thick. Cut out circles with a floured 3-inch cutter. Re-roll and cut out the leftover dough. Cover the muffins with a damp cloth and let rest for about 20 minutes.

Heat a frying pan or griddle to very low heat. Do not grease, but sprinkle with cornmeal. Cook four muffins at a time, cornmeal side down first, for about 7 minutes a side.

Check after about 3 to 4 minutes to see that the muffins are browning gently and are neither too dark nor too light; if they seem to be cooking either too fast or too slowly, adjust the temperature of your pan or griddle.

When the muffins are brown on both sides, transfer them to a wire rack to cool, and proceed with the rest. If you have two frying pans (or a large griddle), you’ll be better able to keep up with your rising muffins. Yield: 16 muffins.

Banana Cream Pie…a tradition….

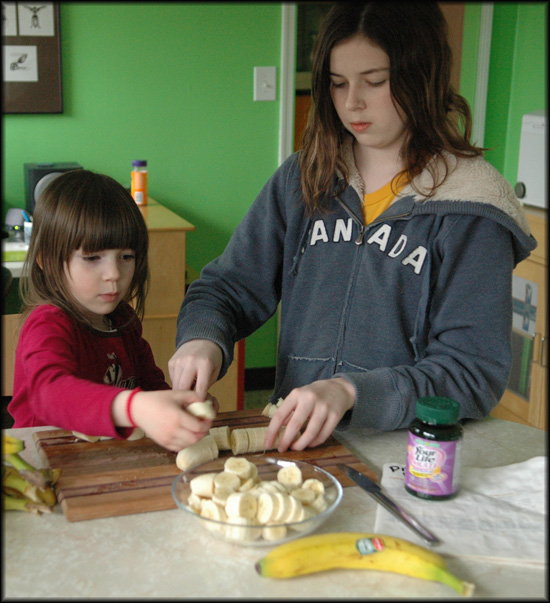
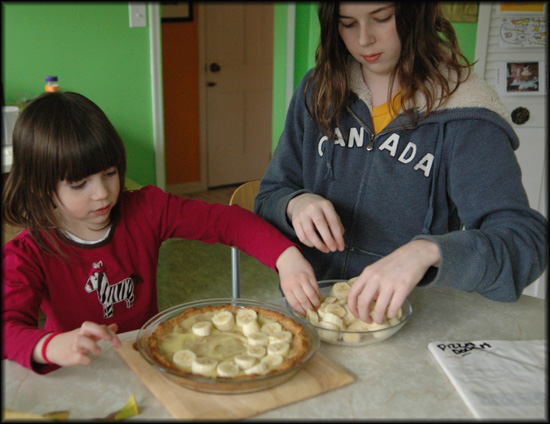
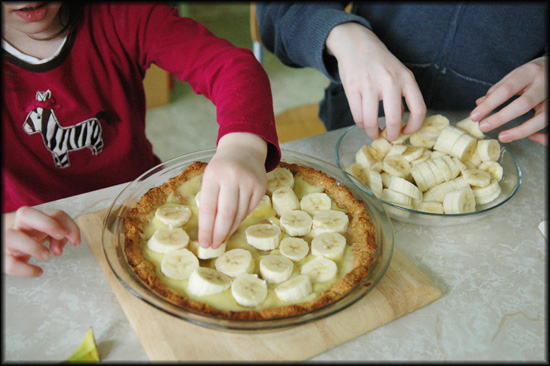
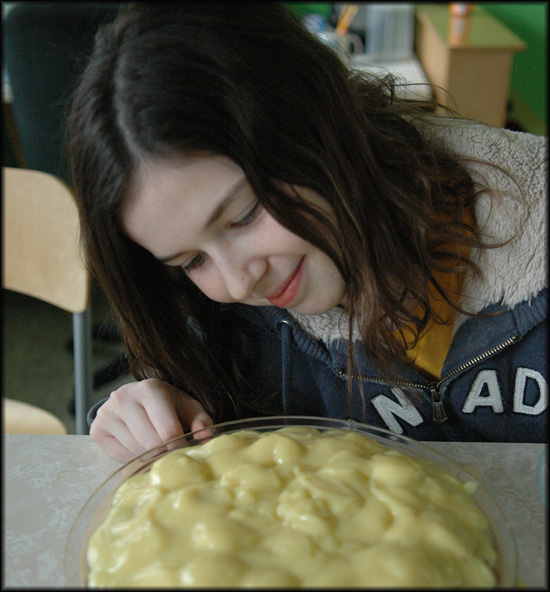
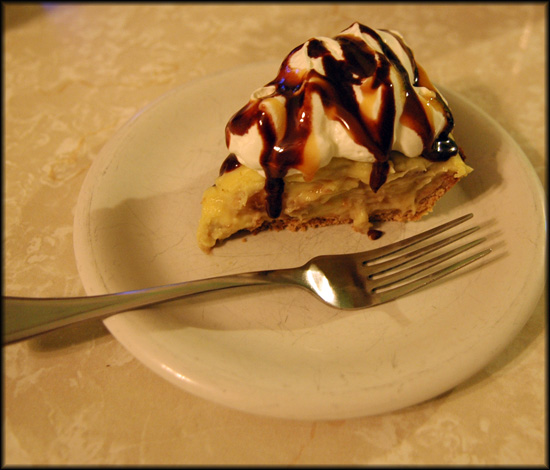
Last week was my husband, Christopher’s birthday….so it was banana cream pie time….a birthday tradition.  I only make this recipe once a year.   Tuesday and River had great fun helping me make it.

There are a lot of components to the dish and they helped do most of the work…from the cutting to the assembling.

It is always more fun when you have help in the kitchen!

I think Tuesday’s favorite part is the eating of the pie…..it is only good for a few days..so it has to be eaten quickly, which Tuesday doesn’t mind!

Who doesn’t like a great hamburger roll…….

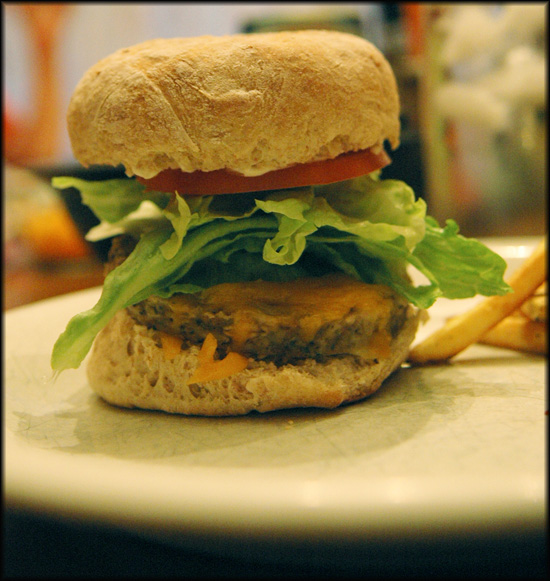
Whenever I go to the grocery food store, I can never find tasty looking hamburger rolls that are all natural and not filled with stuff like high fructose corn syrup.  (Yes, even though we are vegetarian, I still call them hamburger rolls, otherwise no one knows what you are talking about!)  So, I decided to make my own…and of course, I wanted to use my bread machine.  After some trial and error, I found a great recipe.  They were perfect.  We had an incredible dinner with veggie burgers, fries and all the fixings!  Probably the only problem with the rolls was that they were so puffy….once you had all your fixings on the veggie burger…it was hard to take a bite!  The recipe called for 1/4 cup of sugar, which I thought was crazy..so I only added 1 Tablespoon.  It also called for vital wheat gluten, but I didn’t add any.  It said that if you added the vital wheat gluten, the rolls would rise higher..I can’t imagine them getting any higher!

Whole Wheat Hamburger and Hot Dog Buns (Bread Machine)

*By Engineer in the Kitchen and posted on May 26, 2006 on Food.com

Ingredients

    • 1 cup water
    • 1 eggs
    • 2 cups all-purpose flour
    • 1 cup whole wheat flour
    • 3/4 teaspoon salt
    • 1/4 cup shortening
    • 1 Tablespoon  sugar
    • 3 teaspoons yeast
    • 1 tablespoon vital wheat gluten (optional)

Directions

  1. Place all ingredients in bread pan, select Dough setting, and press Start. (Vital Wheat Gluten is optional but the bread will rise higher with it.).
  2. When dough has risen enough, the machine will beep. Remove bread pan, and turn out dough onto a floured countertop. Gently roll and shape the dough into a 12-inch rope.
  3. With a sharp knife, divide dough into 8 pieces for hamburger buns or 12 pieces for hot dog buns.
  4. Grease a baking sheet. Roll pieces of dough into balls and flatten for hamburger buns or shape into 6-inch rolls for hot dog buns. Place on prepared baking sheet. Cover and let rise in warm oven 10 to 15 minutes until almost doubled.
  5. Preheat oven to 400°F Bake 10 to 12 minutes until golden brown (be careful mine cook pretty fast). Remove from oven and cool on racks. When ready to use, split buns horizontally. These will keep in plastic bag in the freezer for 3 to 4 weeks.

Homemade Somoas….

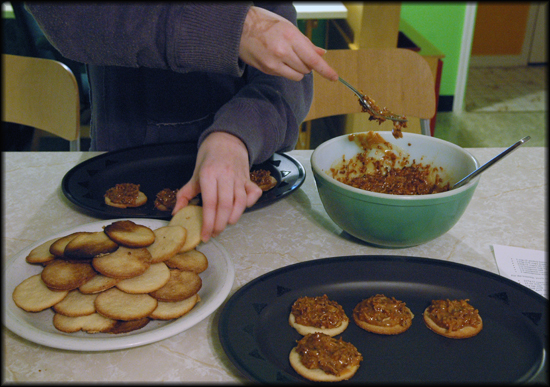
So, last week we were all talking about how much we loved the Girl Scout cookies…samoas…and I said I wish I could find a recipe for them.  So, my husband found me a recipe on the internet.  And we just had to give them a try.  This link has incredibly detailed instructions:

http://www.instructables.com/id/Homemade-Samoas-Recipe/

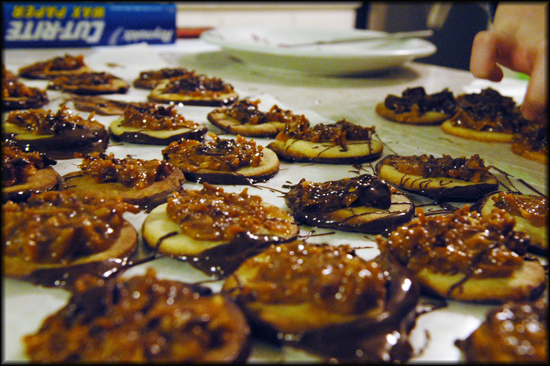
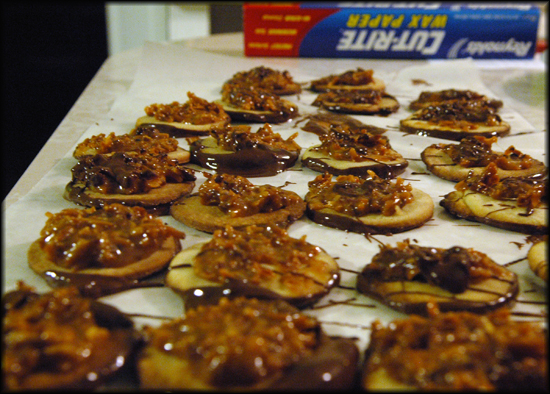
Our samoas did not turn out as pretty as the ones in the recipe or the Girl Scout ones….but they tasted incredible.

I will say that the recipe didn’t make as many as we had hoped.  So, the next time we make the recipe..and there will definitely be a next time…we will probably TRIPLE the recipe and maybe try freezing some!

It was definitely a lot of work.  There were a lot of steps and it made a huge mess…..another reason for making more..so you don’t have to make them as often.  You could probably do the recipe in two days….one day make the cookies..and the next day finish them with all the topppings.

Let’s just say that they are already almost gone!  If you are a fan of the Girl Scout Samoas….I highly recommend the recipe!

In case you don’t want to click through the whole instructable tutorial…here is the basic recipe…..simplified a bit.

Homemade Samoas

  • 1 cup (2 sticks) butter, room temperature
  • 115g (1/2 cup) sugar
  • 250g (2 cups) all purpose flour
  • 1/4 teaspoon baking powder
  • 1/2 teaspoon salt
  • 1/2 teaspoon vanilla extract
  • 2 tablespoons milk

For the topping, you’ll need:

  • 225g (3 cups) shredded unsweetened coconut, toasted
  • 15-oz soft caramels
  • 1/4 tsp salt
  • 3 tbsp milk
  • 8 oz. dark or semisweet chocolate

Cream together your butter and sugar with a mixer until light and fluffy.

In a separate bowl, whisk together the flour, baking powder, and salt.  Slowly add this to the butter mixture.

Finally, at low speed, add in the milk and vanilla.

Wrap the dough in plastic or store in tupperware.  Refrigerate until the dough is as firm as a stick of butter.

While the dough is refrigerating, preheat your oven to 350F (180C).

Toast the shredded coconut on a baking sheet for about 10-15 minutes, stirring frequently.   Let cool while shaping and baking cookies.

Roll out the dough on a well-floured surface.

Cut out the shapes with a biscuit cutter, or two differently-size round cutters.

Bake your batches of cookies one sheet at a time for 10-12 minutes.

Place your caramels, milk and salt in a microwaveable bowl and nuke for 1 minute at a time, stopping to stir, until nice and melted (3-4minutes).  If you’re using homemade caramels, you can reduce the amount of milk and microwave time.  If you are using hard caramels, increase the milk.

Stir the toasted coconut into the caramel mixture.

Using a knife, an offset spatula, spread the caramel mixture on top of your cookies.  Be generous.

Lay out a sheet of waxed paper for your cookies to rest on once they’re all chocolate-botttomed.

Chop up your chocolate and microwave it in 30 second bursts, stirring between each, until nice and melted.

Dip the bottoms of your cookies into the chocolate and place on waxed paper.

Use the remaining melted chocolate to drizzle over top of the cookies once they’re all dipped.  A spoon works for this, but a piping bag or the corner snipped off a plastic baggie makes ’em prettier.

That’s it!  Store in an air tight container for best results.

If you have left over caramel and coconut, use a couple spoons or a dough scoop and make little candies out of them.  Bon-bon/truffle type candies of caramelly coconutty deliciousness topped in chocolate.

Aunt Loretta’s hummus…

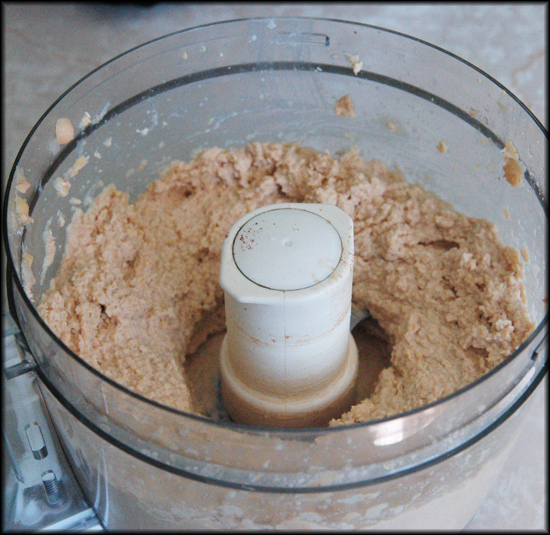
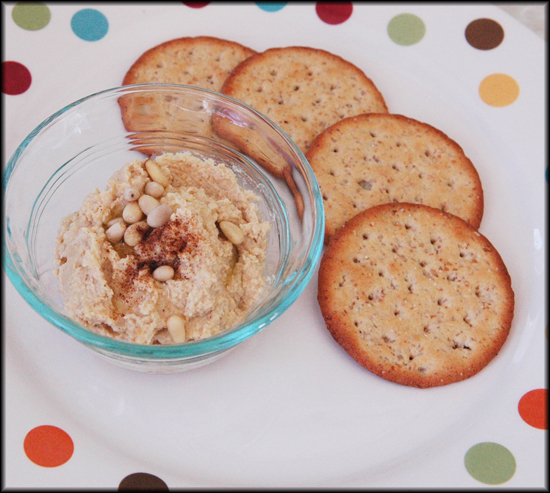
Did I mention that my Aunt Loretta is an awesome cook?  Well, she is….and while we were visiting her..she made her delicious hummus!  She put it out as an appetizer…and I was afraid I would eat all of it……and not have room for dinner!

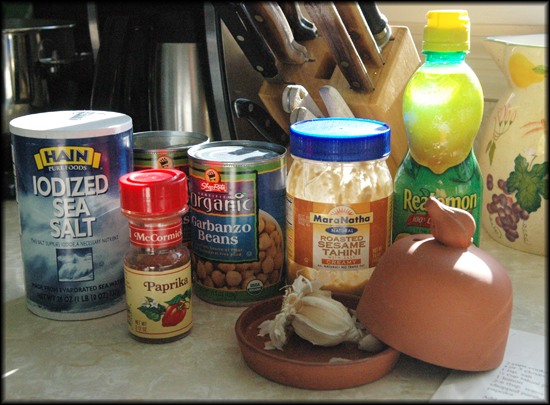
So, of course, as soon as we got home from our trip…I had to make more hummus!  It is a simple recipe but incredibly delicious!  Enjoy…….

Aunt Loretta’s Hummus

  • 2 cups cooked chick peas
  • 4 or 5 cloves garlic mashed
  • 1 tsp. salt
  • ½ cup tahini paste
  • 1 lemon
  • 2-6 tbsp. water
  • chopped parsley
  • paprika

Add all in food processor and blend til paste.  Garnish with paprika and parsley.

*** For Baba Ganoush  —  follow same recipe but use eggplant instead of chick peas and no water