Butterfly Wall….

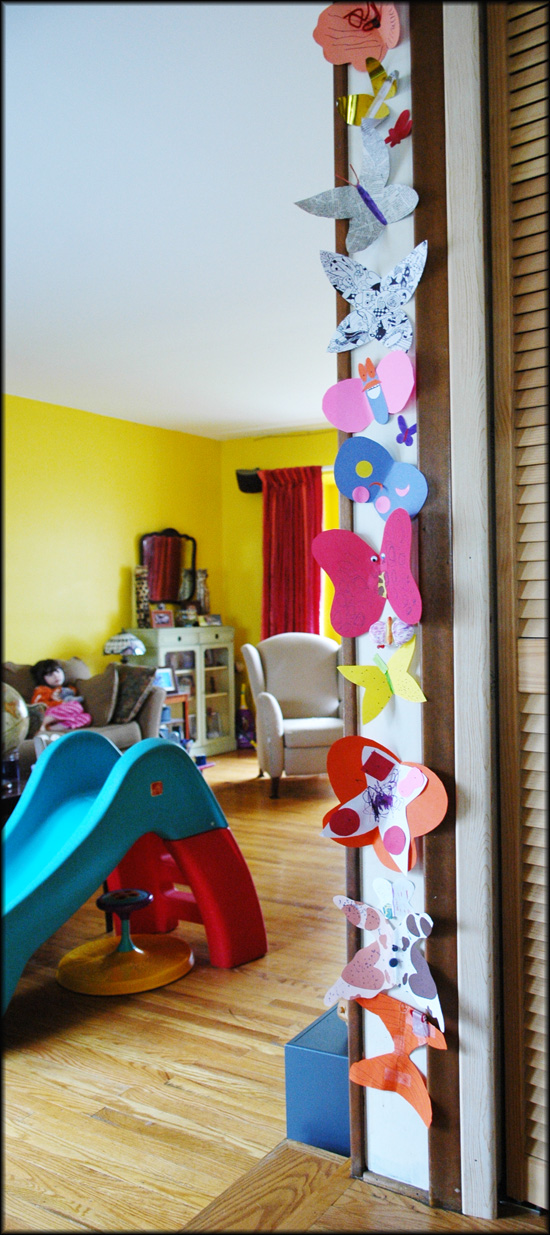
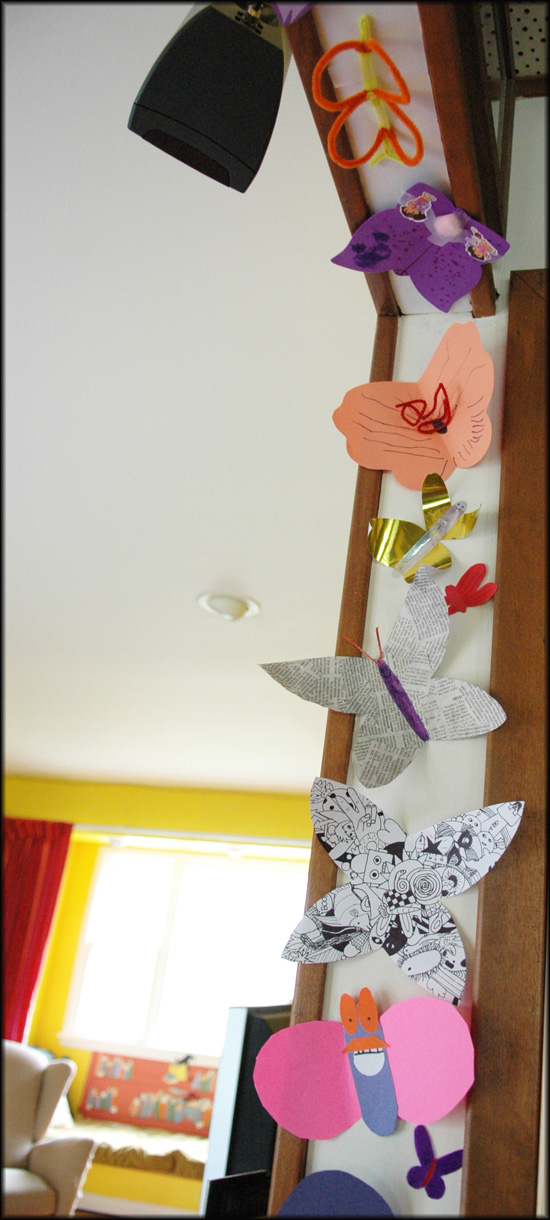
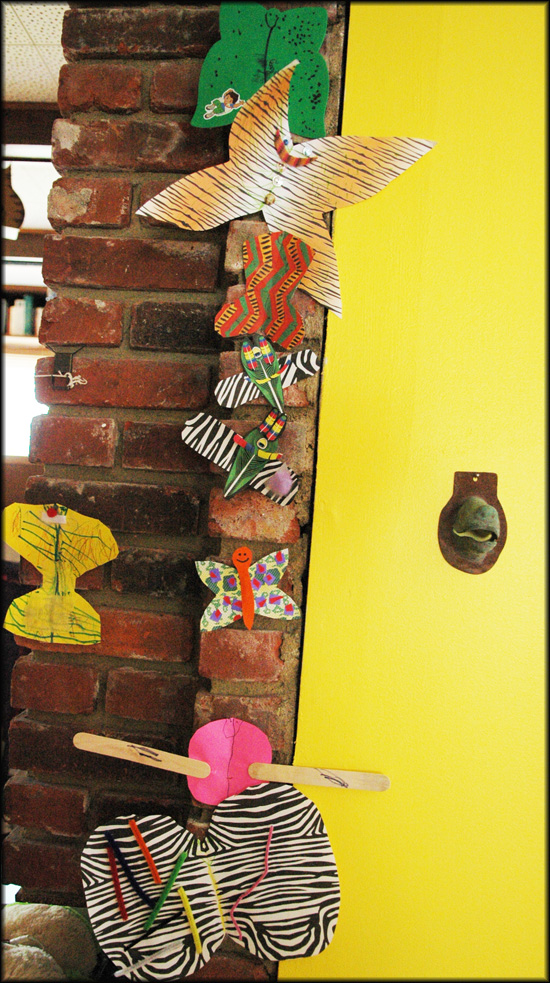
So, we got inspired to make a butterfly wall after seeing Dana’s post about her butterfly wall on her blog, Made.

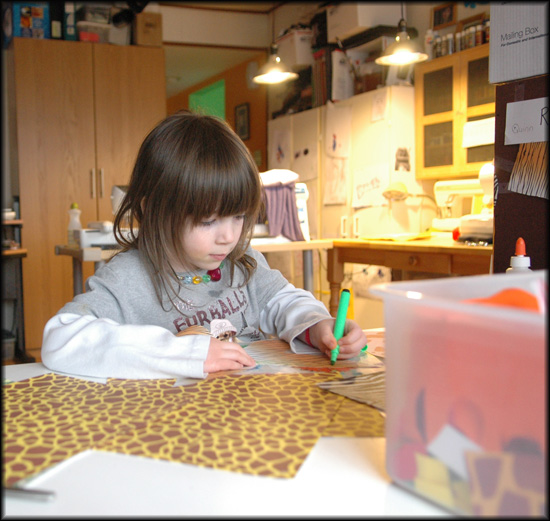
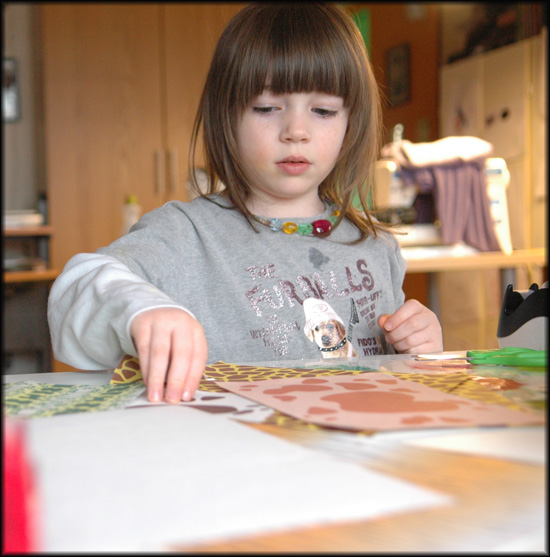
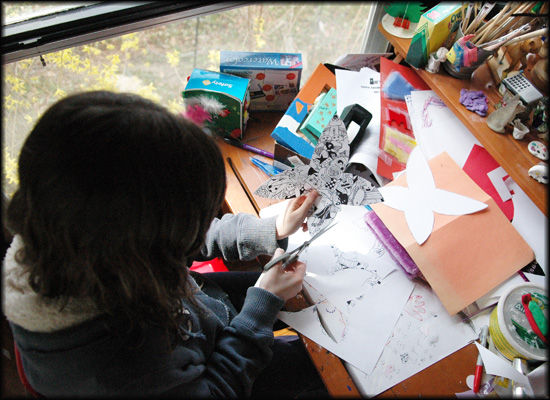
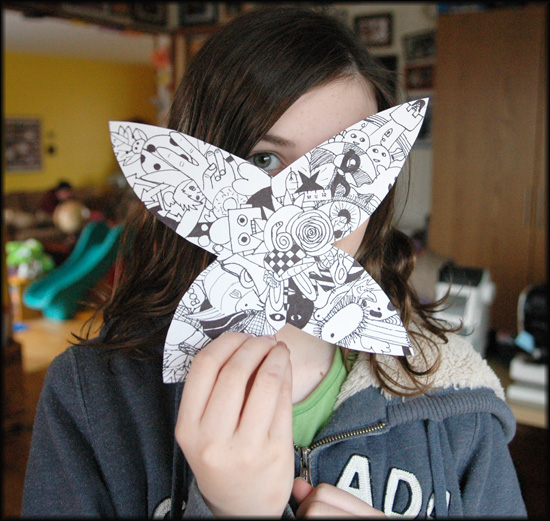
Everyone had a great time making butterflies.  We almost couldn’t fit them all on the spot I chose.

Next year, we will have to choose a bigger area for all the butterflies.

Some butterflies were made from paper.  Some were made from clay.  Some were made from pipe cleaners.  Some were made from newspaper.    Some had stickers, others had pom poms…..there was everything!!

And now that area looks awesome…some have even tried to fly away!

Paper Mache Dragon craft project…..

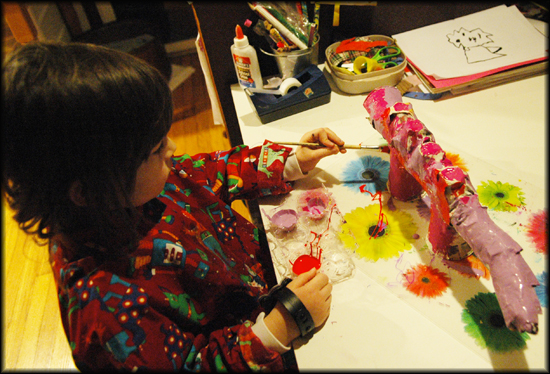
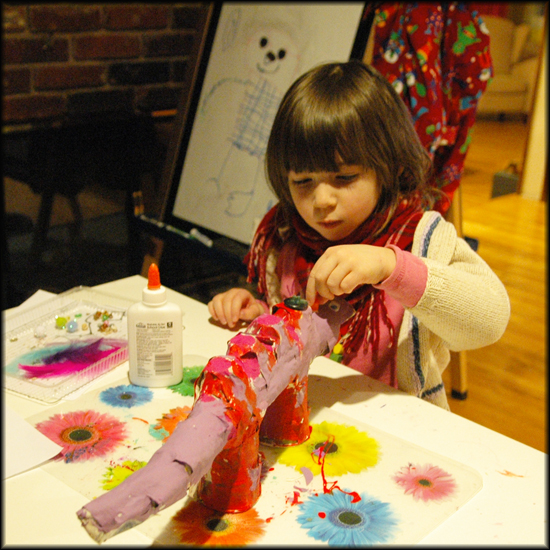
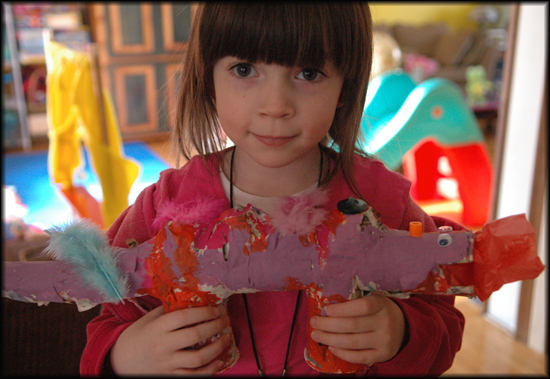
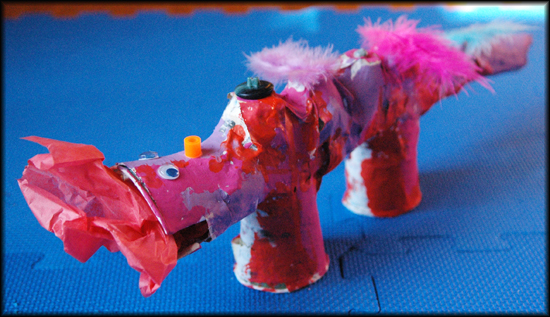
When Tuesday and Quinn were about River’s age, they took an art class.  One of the projects they made was a dragon.  They turned out so cute and we still have them…..so River decided she wanted to make one.
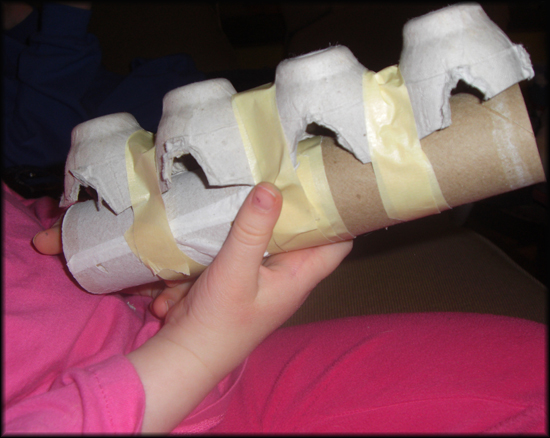
The first thing you need to do is get some supplies together. You need two toilet paper rolls or one paper towel roll, 3 small paper cups, some newspaper, a cardboard egg carton and brown masking tape.  First, if you are using toilet paper rolls, you need to tape them together.  Then, cut off a section of the egg carton and tape it to the toilet paper rolls.
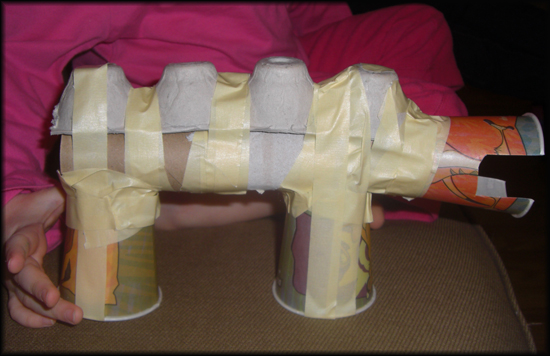
Next, you need to tape two of the small paper cups to the bottom portion of the dragon.  These will be the legs, so make sure that they are level, so the dragon can stand.  One of the paper cups, you have to cut a mouth out and tape that to the front part of the dragon.  Don’t be afraid to use lots of tape to secure it well.
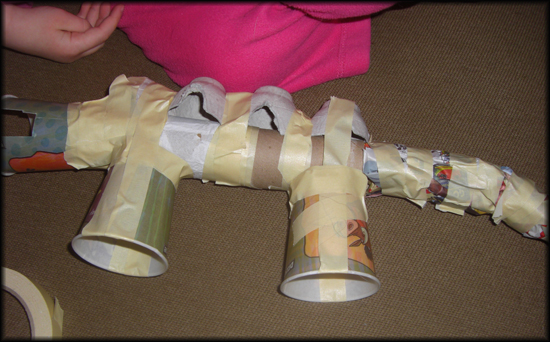
Now you are ready for the tail.  Just grab a bit of newspaper….make it into a tail shape….shove it into the other end of the toilet paper rolls and then tape it all together!  Congratulations, you’ve finished the first part!
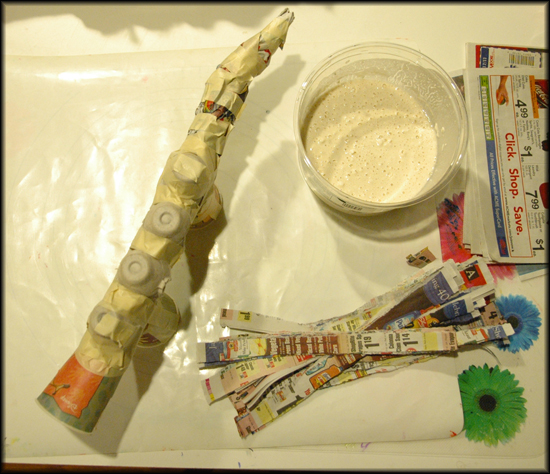
Now for the beginning of the messy stuff…paper mache!  There are a lot of different paper mache recipes out there..but I keep it simple..just flour and a little bit of water..mix until it is a thick paste.  Get some newspaper strips and you are ready to go!
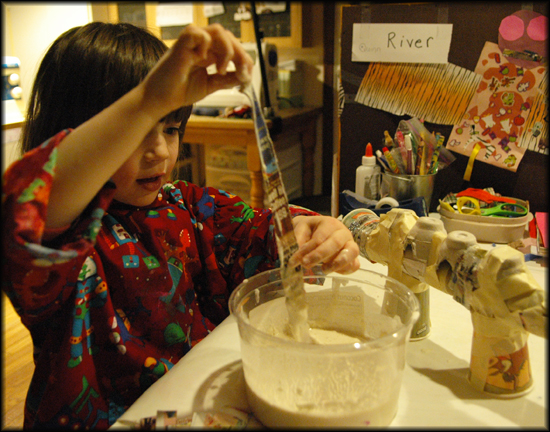
Your little one may need help covering the whole dragon.  But I know they’ll have fun with this part!  Cover the whole dragon with strips of paper dipped in the paper mache.
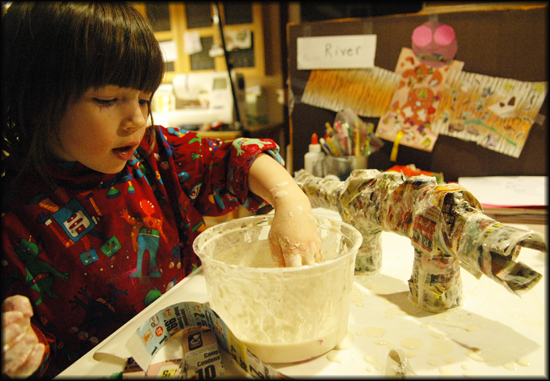
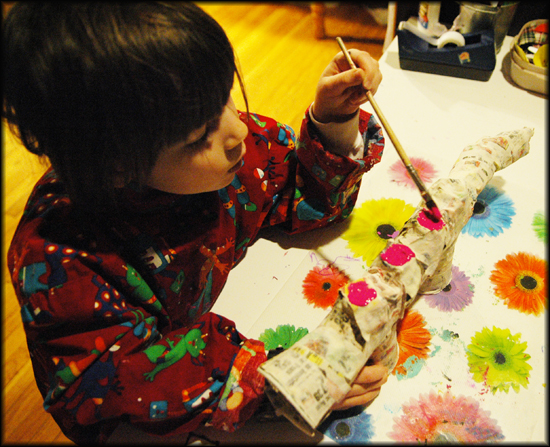
Then wait til it dries.  After it dries….about 24 hours..you are ready to paint your dragon.  Grab whatever paints you like to use…I like acrylic….and let your little one paint away!
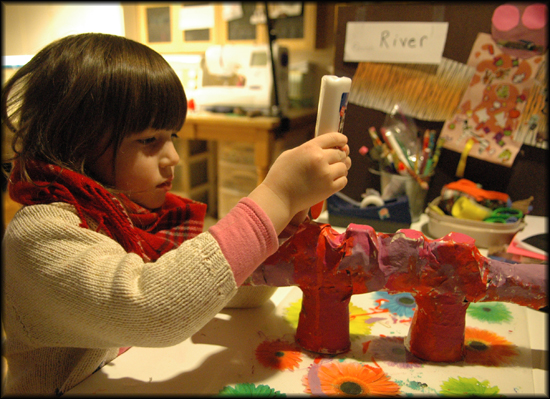
When the paint dries…..your dragon is ready for its final touches……whatever your little one would like to add..buttons, ribbons, feathers, glitter, googly eyes…whatever is in your craft cabinet!  Let it dry and enjoy!  Oh, and don’t forget a little tissue paper in the mouth…for the fire!
Robot costume deja vu……

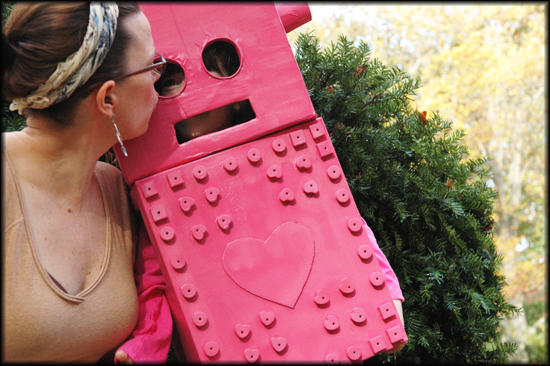
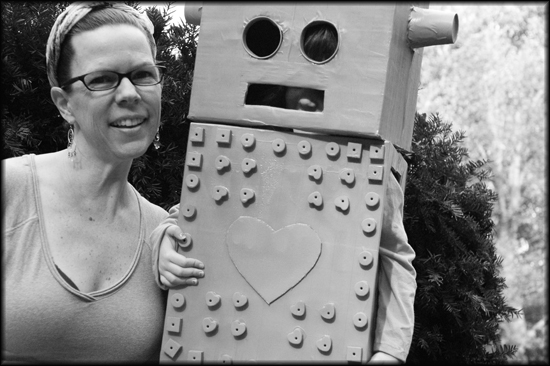
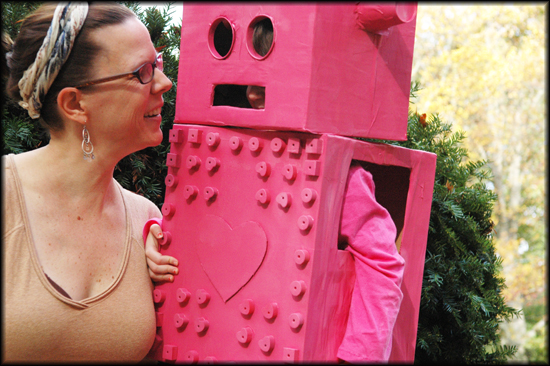
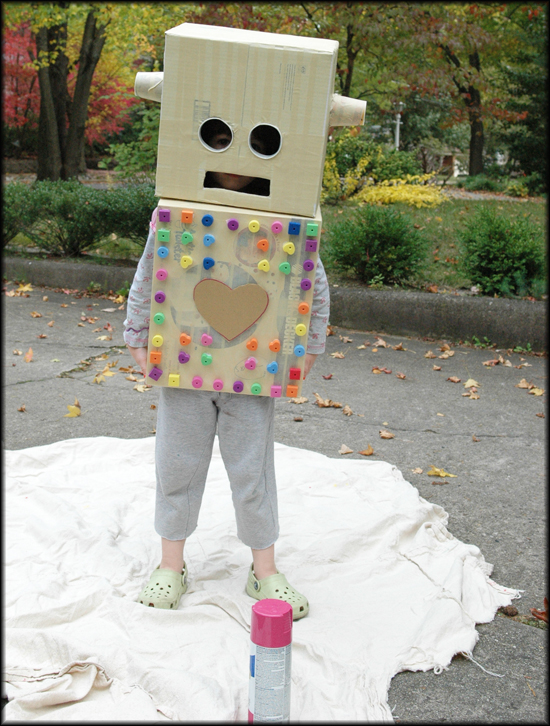
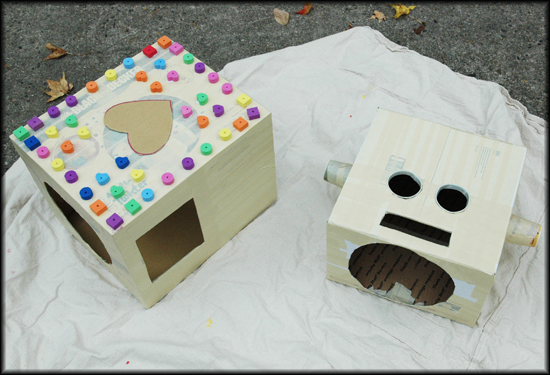
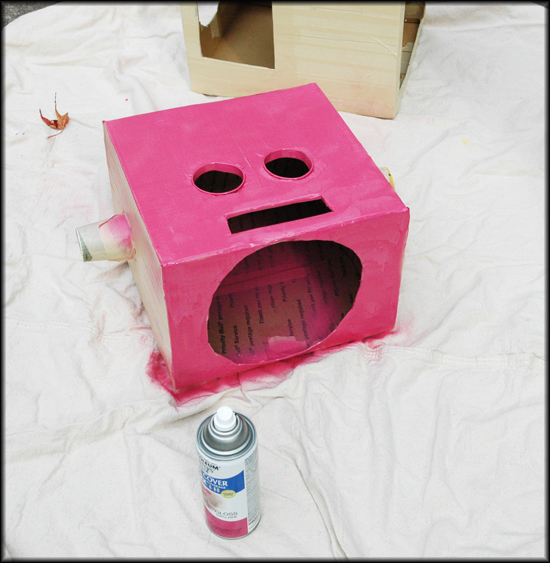
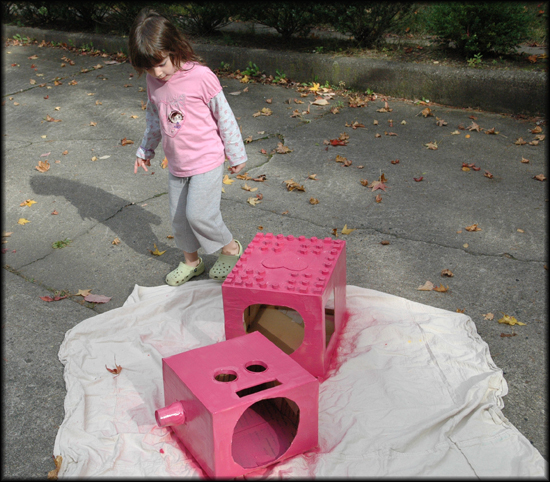
This year, River decided she wanted to be a robot…a pink robot….so..it took awhile..but today..we finally got started on making her costume…better late than never!  This time around, I knew what I was doing..since I made Quinn a robot costume two years ago!  First, I had to find two boxes that would fit her body…..

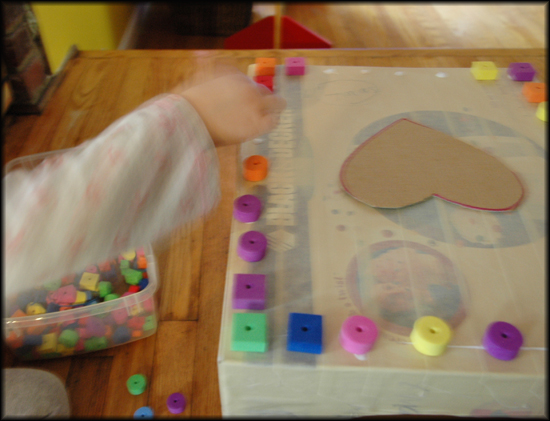
Then we had to figure out all the holes…eyes, mouth, arms, head…..etc.  Then I had to tape everything..and we had to start decorating!  Finally, everything was ready….and the glue was dry!

It was time to spray paint!  It is always fun seeing all the elements coming together…the spray paint brings it all together!  Right now..it looks like a giant lego….

Upcycling……

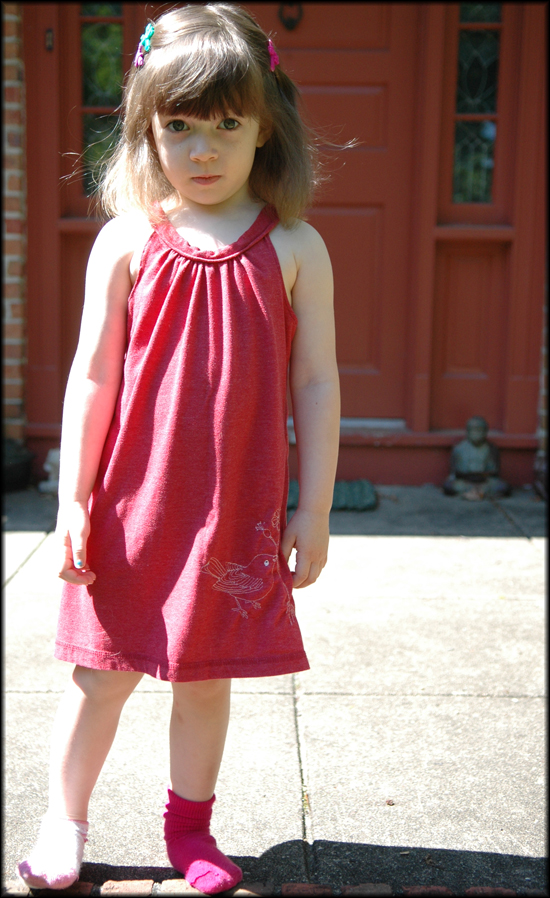
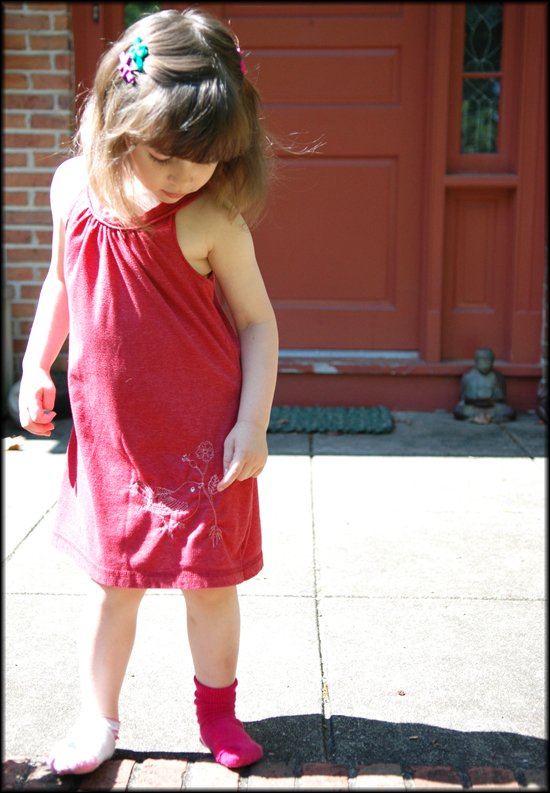
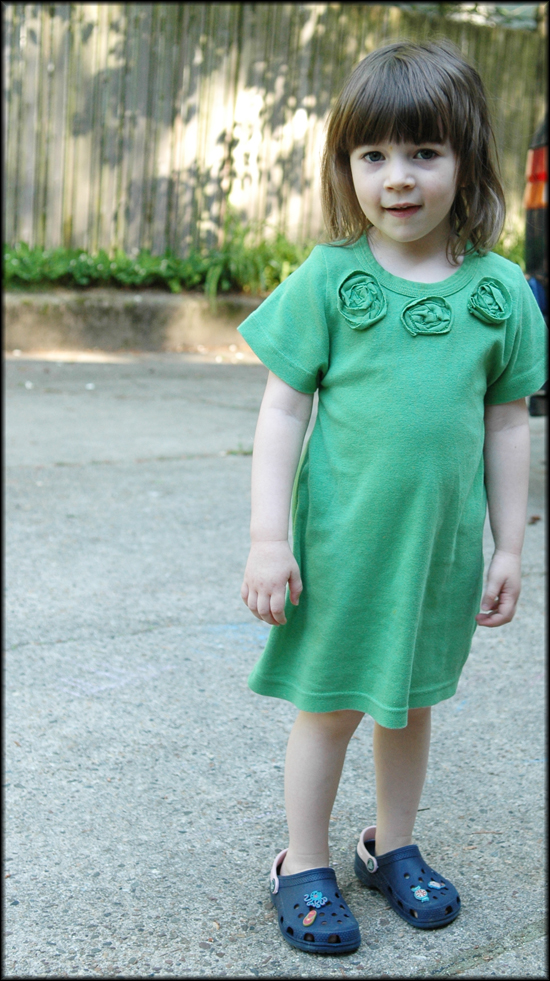
I’ve spent this past week taking all of Tuesday’s old clothes, that don’t fit her any longer and upcycling them into clothes for River.  I found this adorable pattern at MADE.  Dana’s blog is incredible!  It is filled with all kinds of great things…I especially love her patterns…and this one was free!  It turned out so cute.  I made it from an old tshirt.
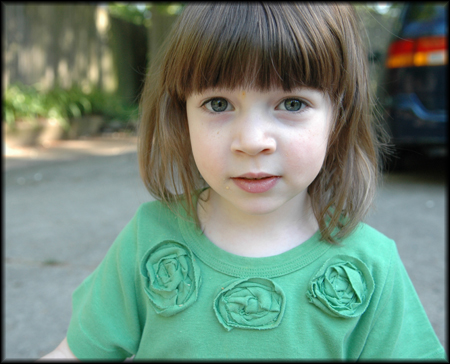
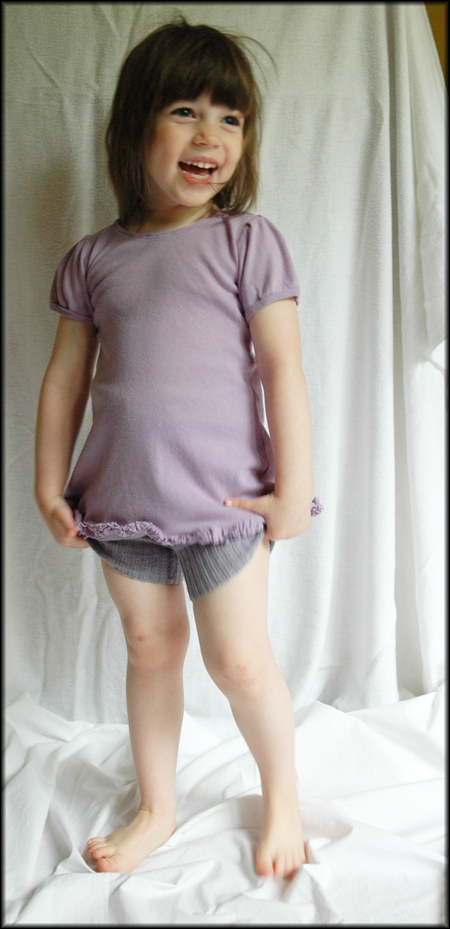
The image on it is from Geninne’s Art Blog…..awhile back she had a free image download and I have been wanting to use it on something.  I thought this seemed the perfect thing!  The image is simply elegant!

The next dress I made was also from an old tshirt…I found the idea for this design at Happy Together….I loved the little flowers and they were so simple to make!

This dress was also easy and quick to make….and River loves it (please ignore the cracker goo on River’s face)!

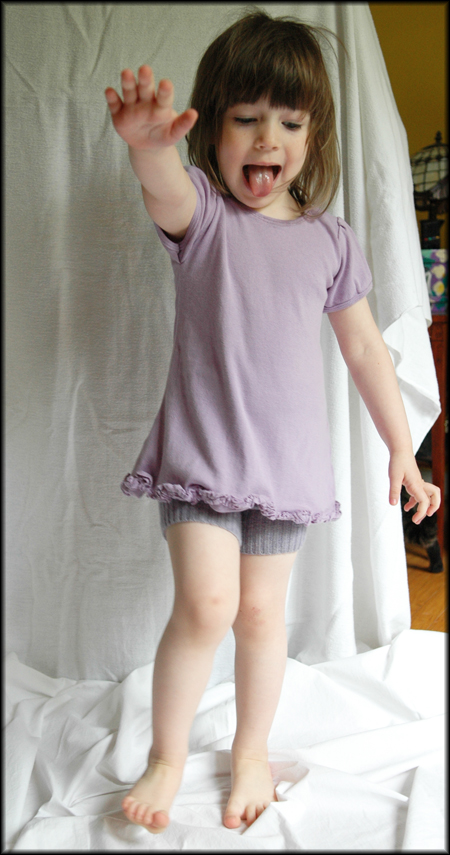
I love taking something and creating it into something else!  I also liked the ruffles idea from the Happy Together site and used them for the shirt….(this shirt was originally going to be a dress..but it ended up being too short).  This shirt was mailed to me from an organization and I knew I would never wear it.  It had a large logo on the left hand corner, so I had to cut that out.  I made the sleeves a little puffy to add some feminine detail!  What things have you upcycled recently?

********And don’t forget to enter my latest giveaway*********

I’m giving away a $25.00 gift certificate to my Etsy shop!!!

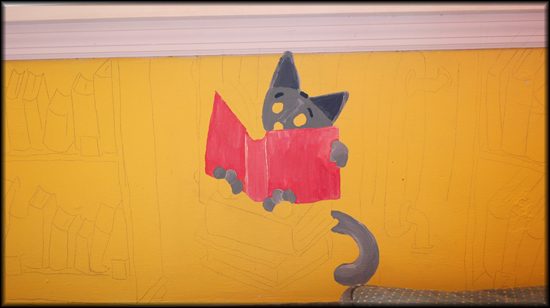
Excuse Me..Are You a Witch Mural….continues…

I’m slowly making progress on the new mural.  It is nice to be doing a smaller mural.  I can see the progress much faster…….not that I’m progressing that much faster..but even when I do something small, it seems like more.

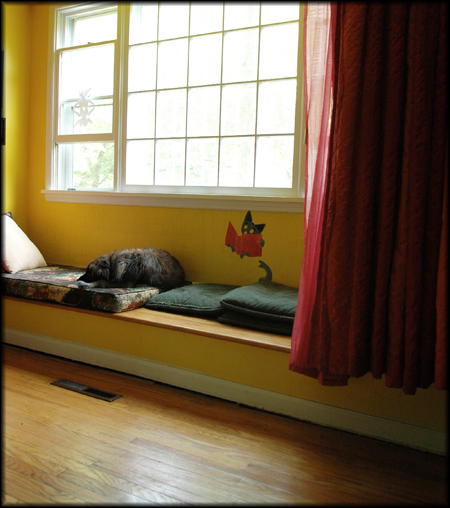
The problem with this area is that it belongs to the dogs, literallly.  It is the only spot in the house where they like to sleep.  They aren’t allowed on any furniture, so this is their way of thinking they are on the furniture.  So, while I am painting, I have to shoo them away.  Then, when I am done, I have to put something on the window seat, to keep them away, until it is dry!

After the mural is finished, I need to get new cushions and sew new covers and pillows!

Handmade pull-ups…….

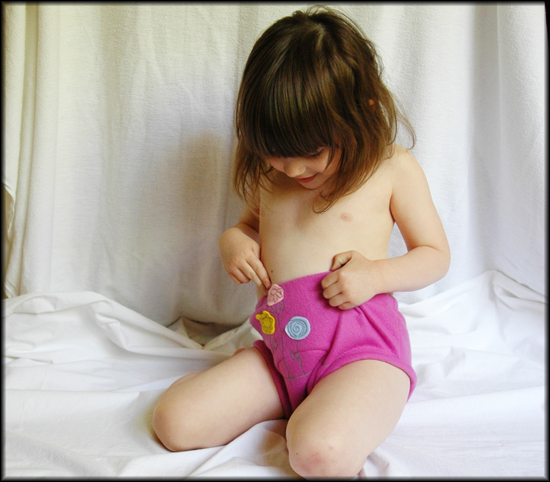
River is completely toilet trained, therefore she wears underwear during the day..but at night she needs something a little more….so I’m trying to perfect my overnight underwear…so far, I’ve made two pairs.  One is a bit too small and this pair is a bit too big…I need to find the in-between.  The important thing is that she loves them and is excited to wear them!

What’s Hot..What’s Not…part two…

Okay….here we go again….(once again…I borrowed this idea from Loobylu )

what’s hot……

*rock creatures…..my children love creating them..they gather rocks from the yard, wash them and then paint or marker them…then the hot glue comes out and I get to put them together!  This can end up being an all day project!

*felt board people…..I love taking my daughter’s favorite story book characters and making them into felt board people.  She will spend hours playing with them all and re enacting the stories.  Now my elevent year old daughter has gotten into the act and is creating some characters for her! Her latest story is Cinderella.

*apples…we always have to have a huge selection of apples.  Just something about this time of year makes it perfect for biting into a crunchy apple….perfection!

*everything Halloween!  We just started getting out the Halloween decorations…but they just can’t get enough….

*books…as always books books books and more books….my children never stop reading books and these are some of their current reads.

*painting…everyone always loves to paint..but right now it is all my 2 1/2 year old wants to do…….

What’s Not…..

*dying plants…I inherited this plant when my mother died..it is a rabbit foot fern…this plant was her father’s plant..my grandfather!  I was warned not to kill the thing..and of course…I already am!  help!  I am not a plant person…..

*leaves…don’t get me wrong..I love Fall and I love leaves…but they always end up all over the house!

*my middle school daughter’s mess….my daughter has always been messy..but now that she is in middle school..the mess is getting worse…..

2009-10-071.jpg

Measure twice…cut once…

These are words to live by..unfortunately, I never live by them.  I am constantly in a rush and constantly trying to do a million things at once!  I hate to follow patterns and directions, yet at the same time I am a perfectionist!  These things do not go well together.  I am always having to redo things that I did incorrectly.  I keep reminding myself that it is okay to slow down and breathe….as my youngest daughter says, “Chew and swallow, chew and swallow.”  I’m trying to remember to measure twice, cut once….but it isn’t easy.

2009-09-24.JPG

Finished Mural….

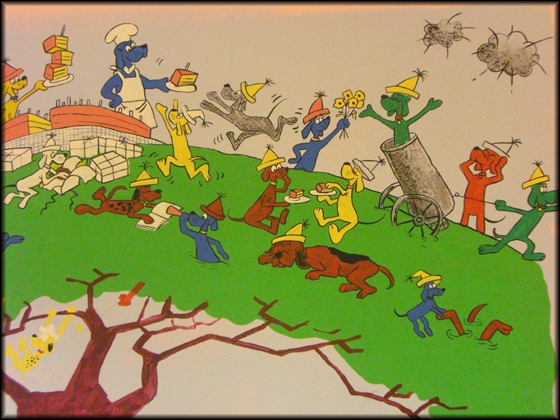
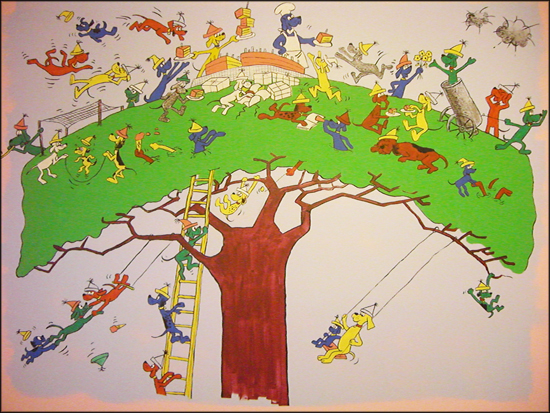
Well, I finished the Go Dog Go Mural Number 2.  Both murals were a lot of fun.  But now they are done.  Now I am working on a mural in the hallway that goes from the foyer to the upstairs.  It will be awhile until I am finished with that one.  We’ve been working like crazy on all our Christmas gifts.  I will have to post pictures tomorrow of all the wonderful things we’ve made this year for gifts!  Happy Holidays to all!