Embrace the Camera…sun continued…..

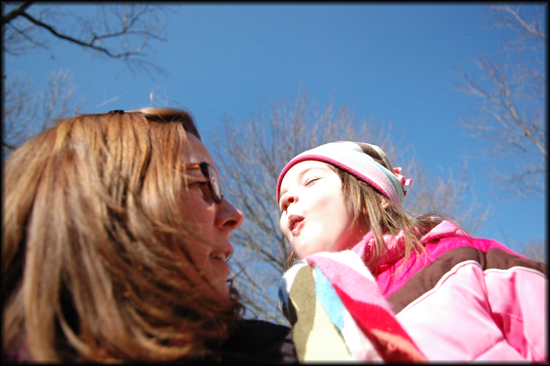
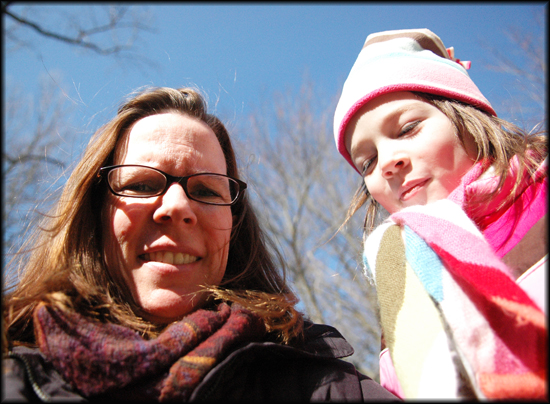
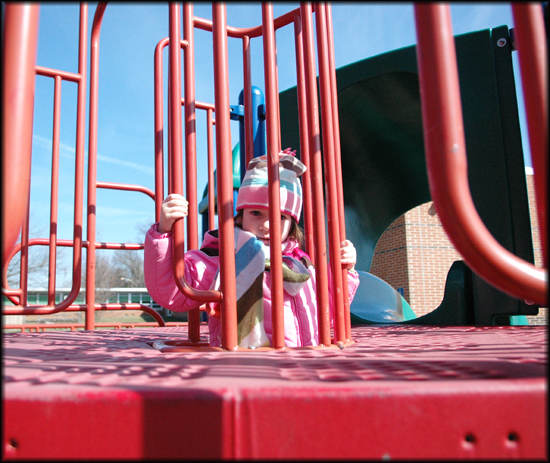
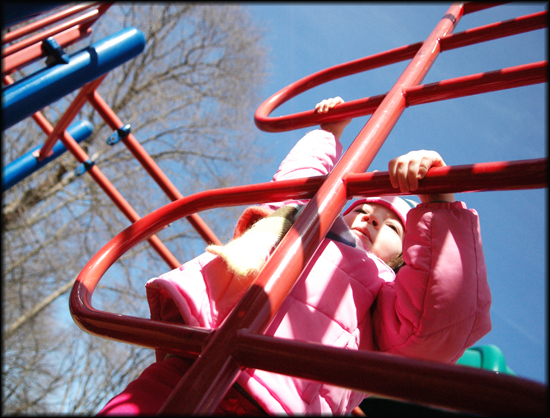
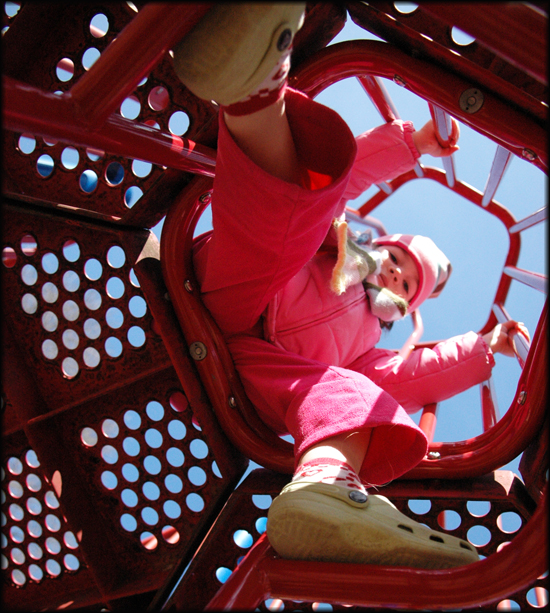
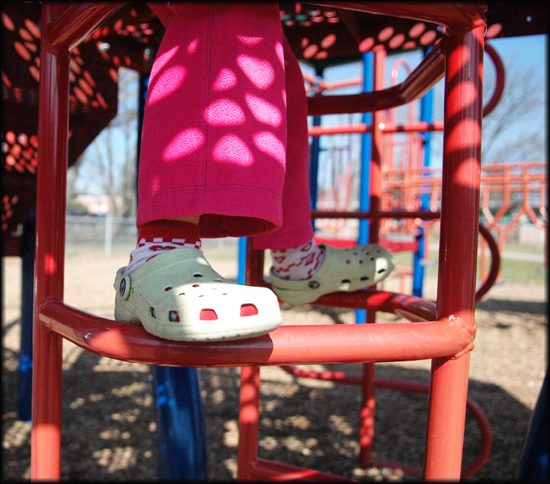
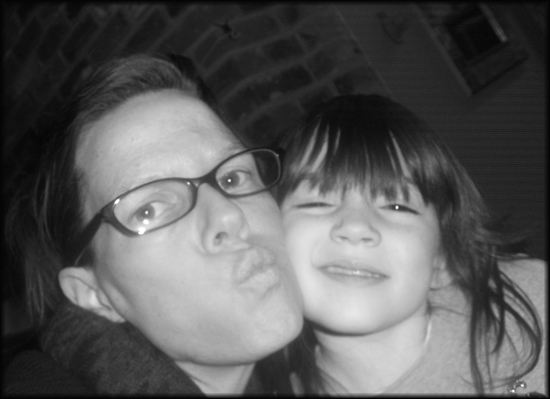
While we were at the playground yesterday, I had to shoot some shots of River and I…….I was holding the camera..instead of setting it up somewhere…so you never know how the shots will turn out….but the sky was so beautiful…I wanted to try to capture it in the background…..of course River just wanted to be silly…I ended up with lots of shots of the underneath part of my nose..which is never too flattering…….but there were a few that were worth publishing…..

Embrace the Camera is inspired by Emily over at 3 boys and a little lady…….

A Little Bit of Sun…..

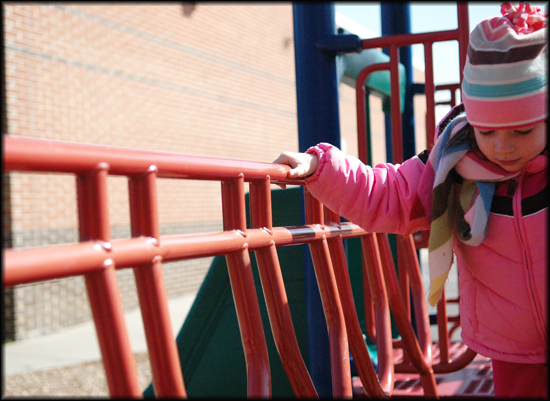
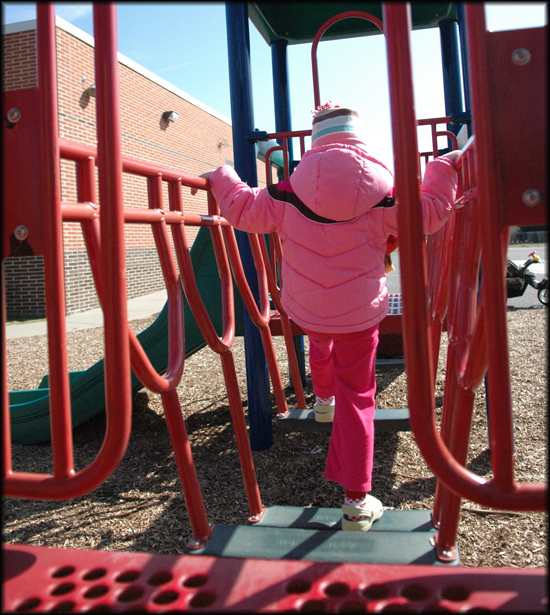
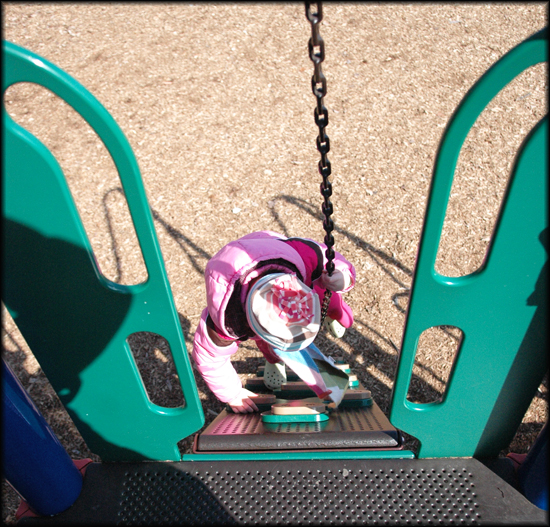
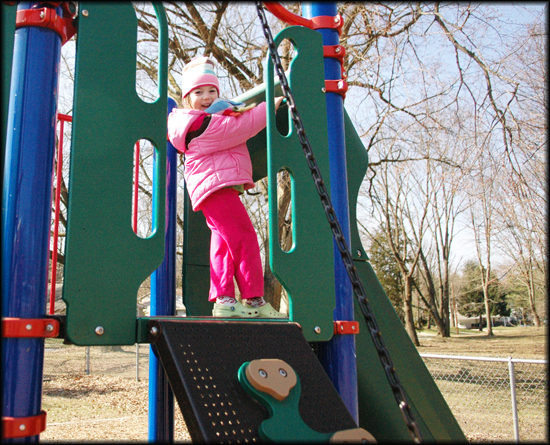
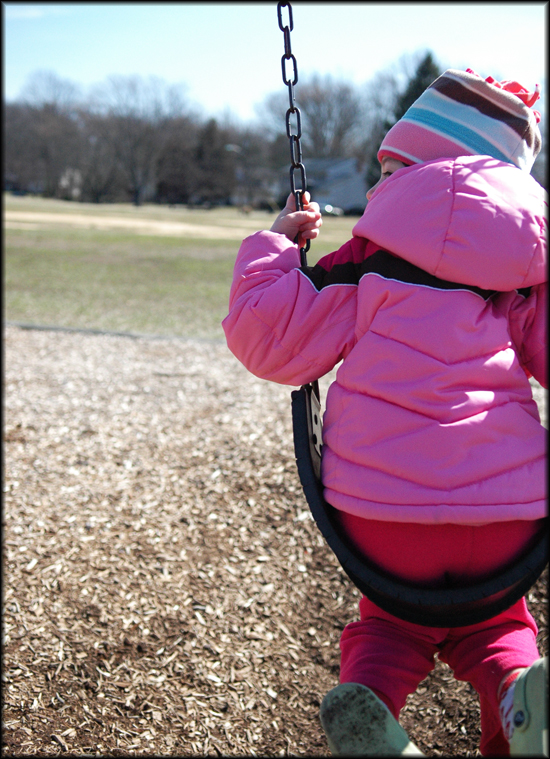
Today was a beautiful day…not a  cloud in the sky, literally.  Quinn had an assembly at school, so we walked to the school.  After the assembly, River decided she wanted to play on the playground for a little bit.  We haven’t been to a playground in about five or six months!

I knew River had grown a bit over the Winter….but as soon as she started playing on the playground….I found out how much!  She instantly started scampering and climbing up things she couldn’t last Fall!  It was incredible.  She barely needed any help at all.  It was so nice to be playing in the sunshine.

There is a rock climbing wall and River has always tried to do it on her own..but she has never been successful….well, today she just scampered up that thing without any problems!  The look on her face when she reached the top..she was so proud of herself!

Pajama Day…..

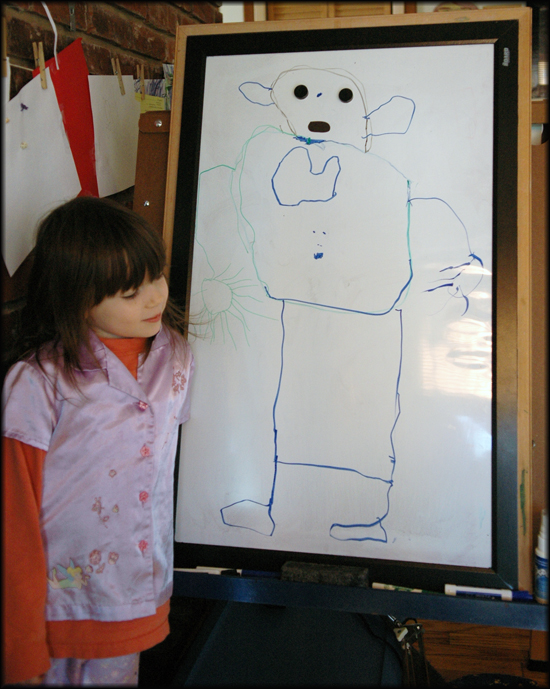
Today River is having a pajama day….sounds nice.  She decided she wanted to draw a picture of me on the white board.  I wasn’t allowed to look until she was all done…she was so proud of the drawing..I have a big heart…..or so she says…..I do love it..though I think I look a bit like an alien…

Happy Tuesday……

River’s Artwork……

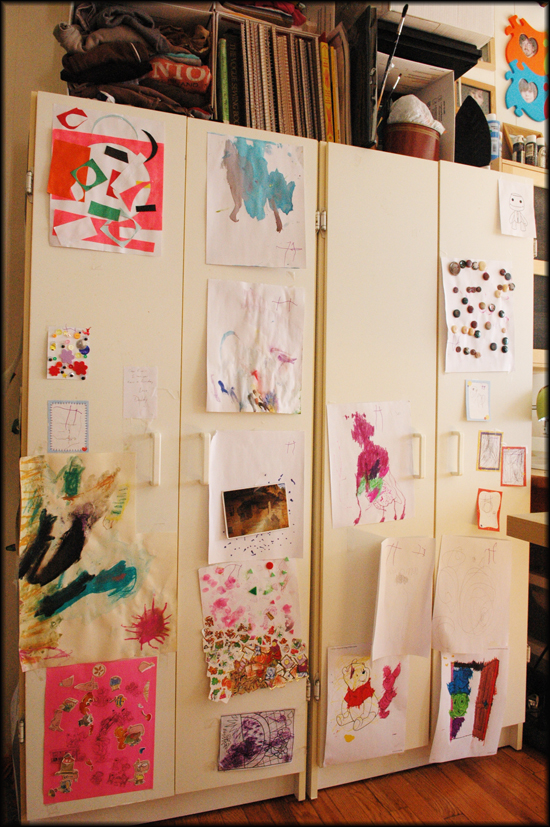
River loves to draw pictures and she loves to display them…she might even like to hang her art work up MORE THAN she likes to do the art work!  I have two cabinets, where we keep all the art supplies.  This is her place to hang her artwork.  Once it is full…..it is pretty much time to take it all down, save some, recycle some……and clear a space for all the new art work!

River’s Latest Drawings…..


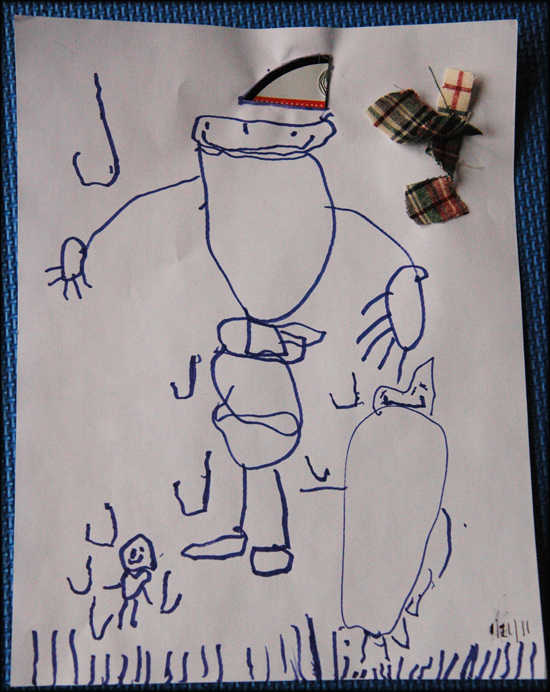
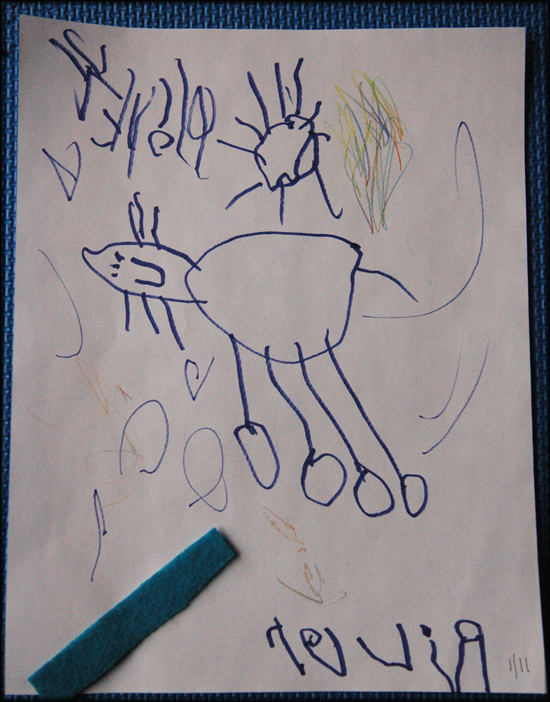
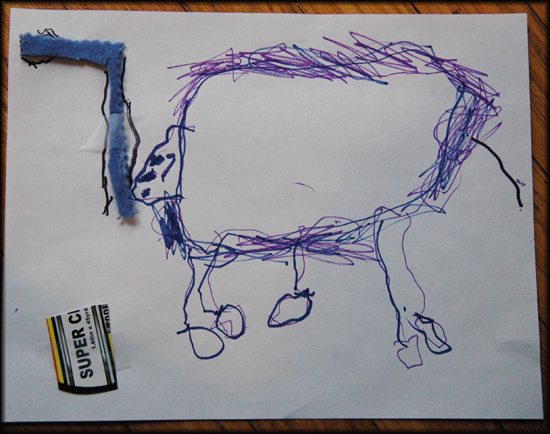
I love watching the drawing development in my children as they get older.    River is definitely in that pre-schematic stage.   Her drawings have gotten more complex.  And I love how her latest “thing” is that she adds a little bit of cloth or paper scrap to all her drawings.  And she loves to describe the drawings to me in great detail.  Usually, she makes me write everything she says right on the paper. ..though for these..she let me skip that!

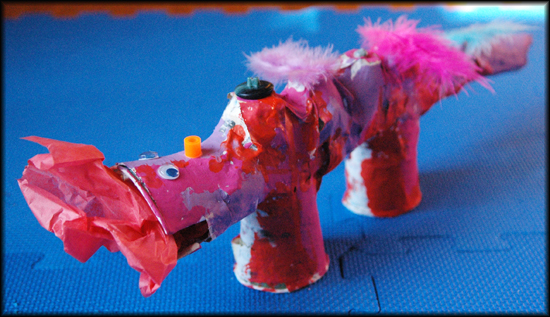
Paper Mache Dragon craft project…..

When Tuesday and Quinn were about River’s age, they took an art class.  One of the projects they made was a dragon.  They turned out so cute and we still have them…..so River decided she wanted to make one.
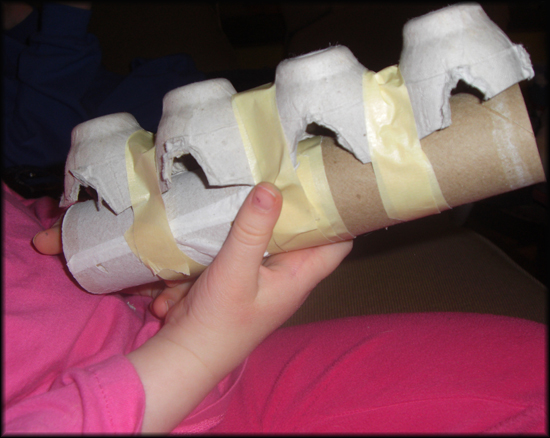
The first thing you need to do is get some supplies together. You need two toilet paper rolls or one paper towel roll, 3 small paper cups, some newspaper, a cardboard egg carton and brown masking tape.  First, if you are using toilet paper rolls, you need to tape them together.  Then, cut off a section of the egg carton and tape it to the toilet paper rolls.
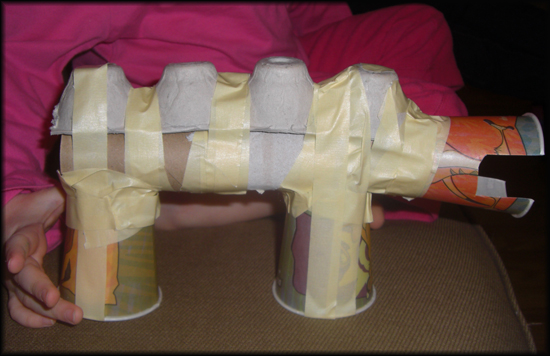
Next, you need to tape two of the small paper cups to the bottom portion of the dragon.  These will be the legs, so make sure that they are level, so the dragon can stand.  One of the paper cups, you have to cut a mouth out and tape that to the front part of the dragon.  Don’t be afraid to use lots of tape to secure it well.
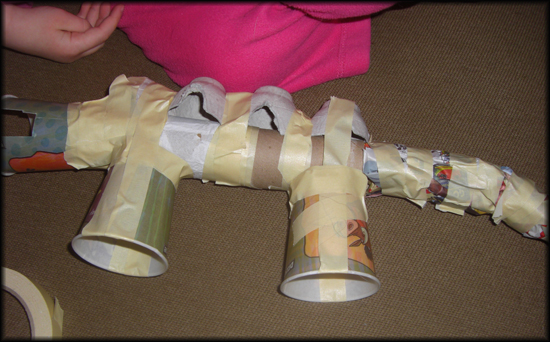
Now you are ready for the tail.  Just grab a bit of newspaper….make it into a tail shape….shove it into the other end of the toilet paper rolls and then tape it all together!  Congratulations, you’ve finished the first part!
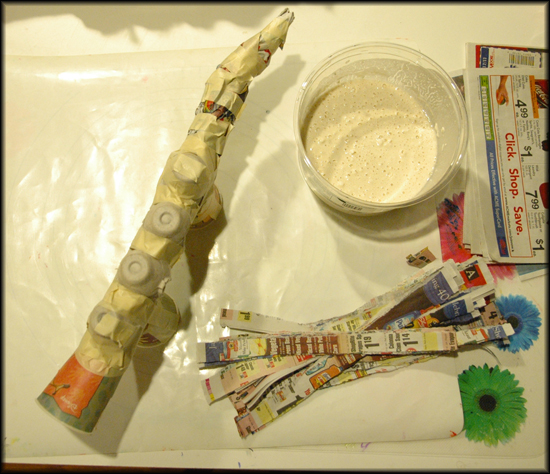
Now for the beginning of the messy stuff…paper mache!  There are a lot of different paper mache recipes out there..but I keep it simple..just flour and a little bit of water..mix until it is a thick paste.  Get some newspaper strips and you are ready to go!
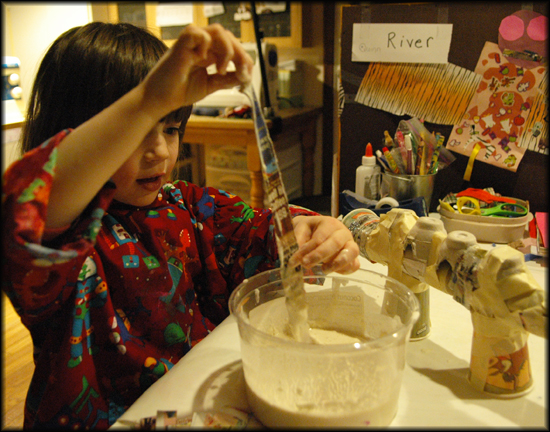
Your little one may need help covering the whole dragon.  But I know they’ll have fun with this part!  Cover the whole dragon with strips of paper dipped in the paper mache.
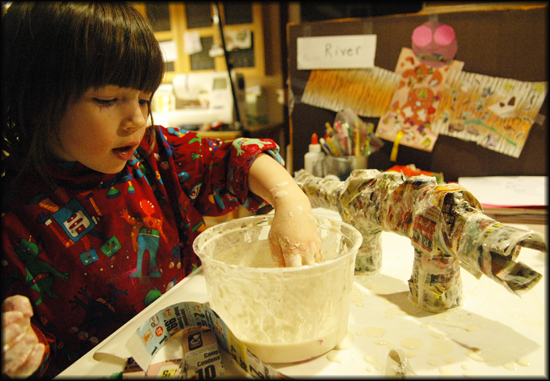
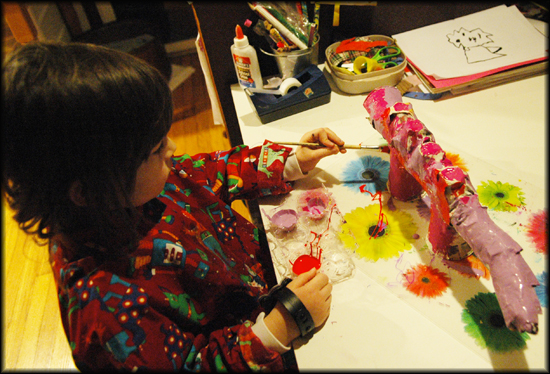
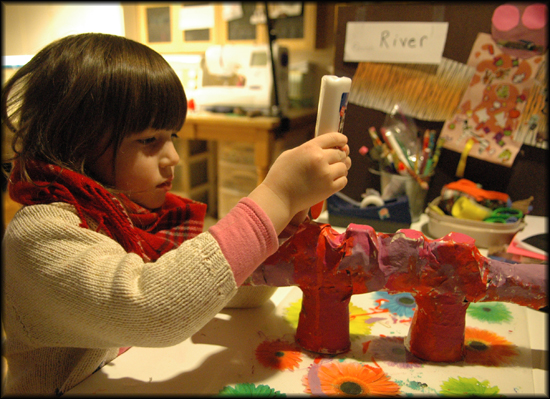
Then wait til it dries.  After it dries….about 24 hours..you are ready to paint your dragon.  Grab whatever paints you like to use…I like acrylic….and let your little one paint away!
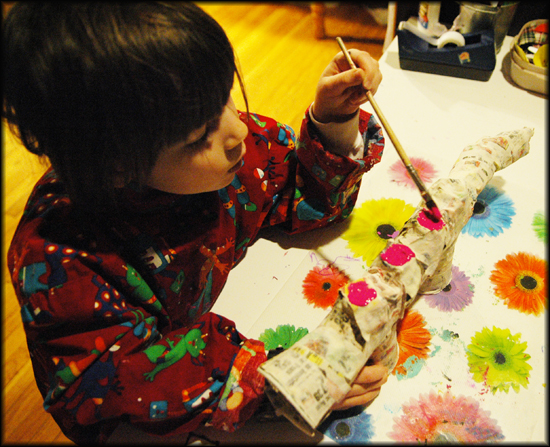
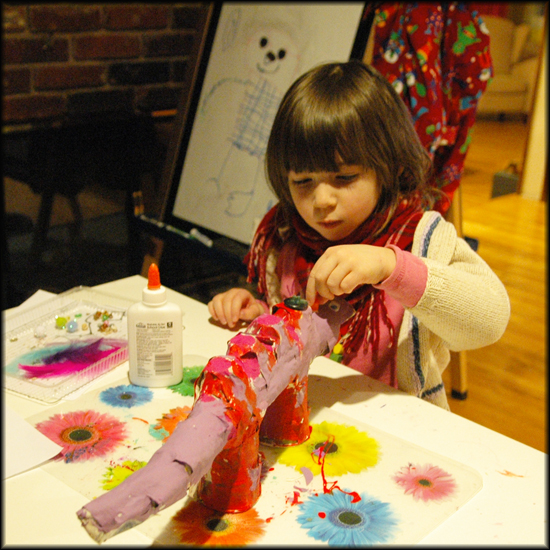
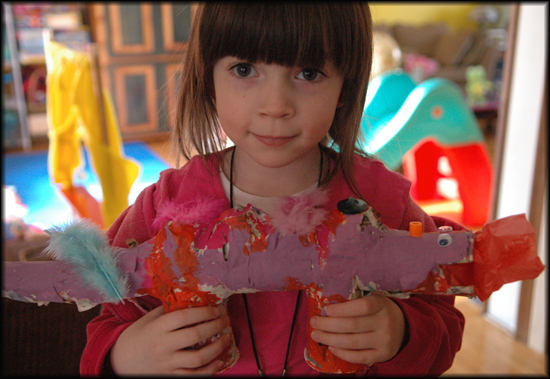
When the paint dries…..your dragon is ready for its final touches……whatever your little one would like to add..buttons, ribbons, feathers, glitter, googly eyes…whatever is in your craft cabinet!  Let it dry and enjoy!  Oh, and don’t forget a little tissue paper in the mouth…for the fire!