New art desk….

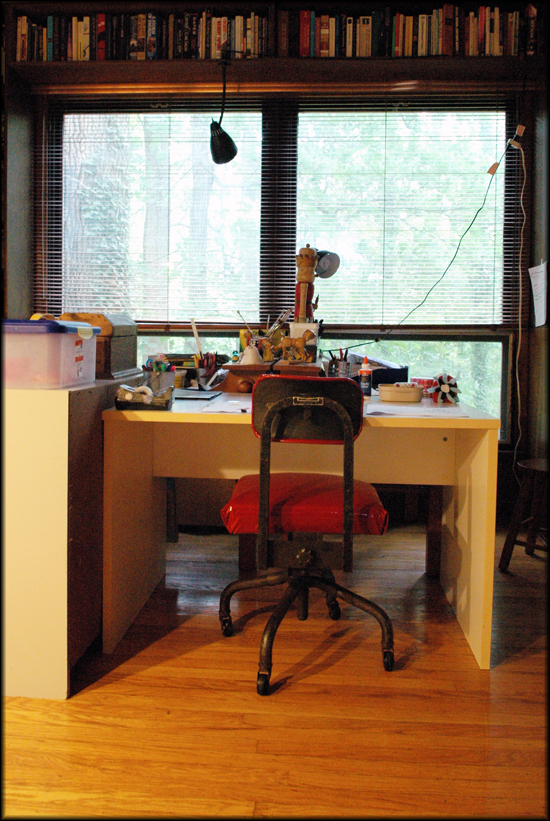
Our art/sewing room had a big old ugly sofa bed in it…and we …..um..my husband..finally lugged it out to the curb…..it was way over due!  And that meant that the room had more space…so River could have a bigger art desk!

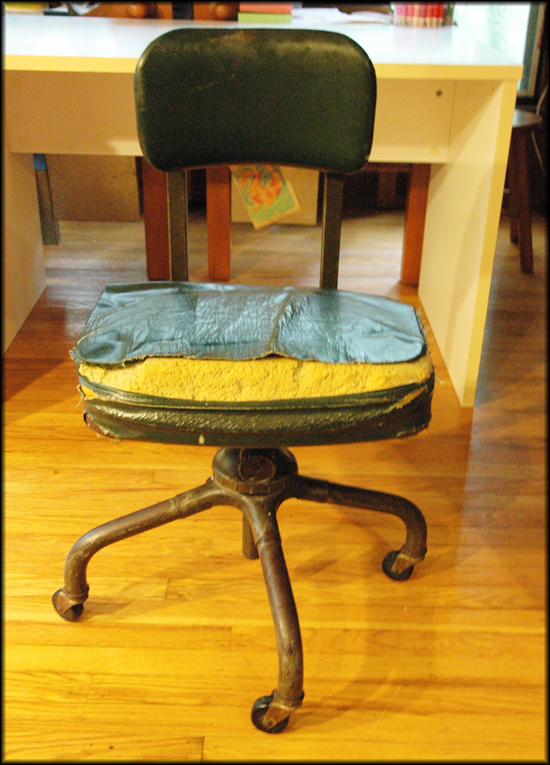
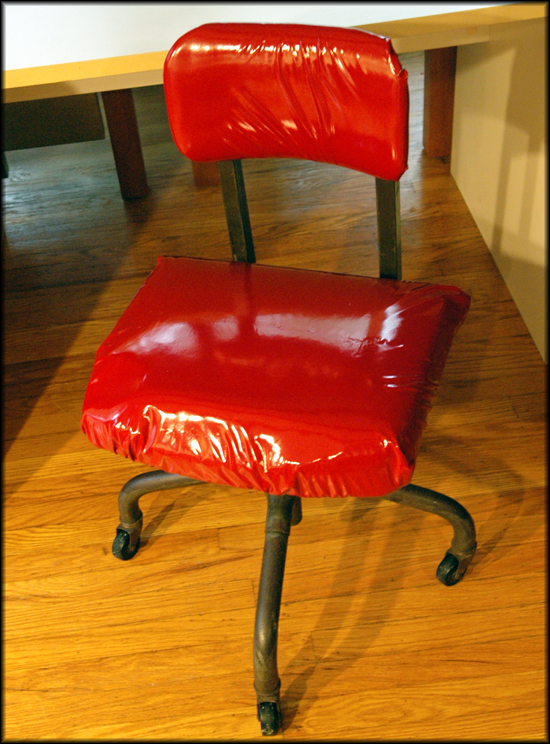
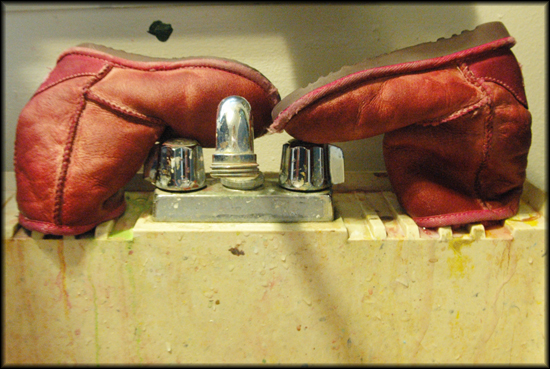
I dug up an old desk that we had down in the basement…..seemed about the right height….but it needed a chair.  So, I dug up an old chair that we had in the basement..but it needed a makeover!  I thought it would be fun to redo the upholstery with some faux red leather…..well, I’m not sure if I like it or not….it looks like it is ready to go out to a go go bar!  But it is done……maybe someday I’ll get around to redoing it!

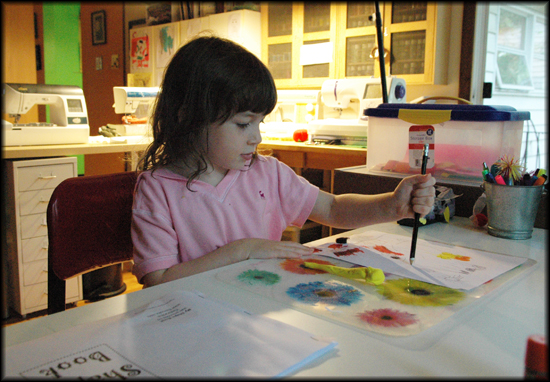
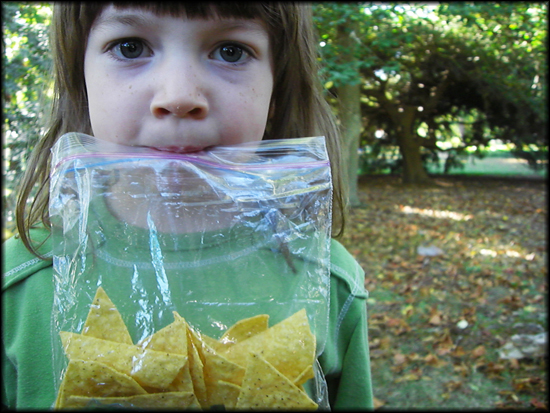
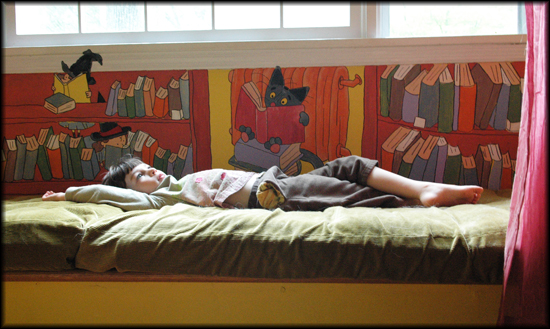
She decided she wanted her new desk to be near Quinn and Tuesday’s desks…..and this is also a better spot..because it gets more natural light.  I think she likes her new art desk!

Shoot Along Challenge…Then + Now…..

So, last Wednesday, over at Giverslog, Amberlee and Carrie Butler had another  shoot along challenge…..then and now….recreating the same photo……

Well, that is an easy one for me…I am a bit of a fanatic about this!  I love to recreate the same photo every year!  We do it at Christmas, Halloween…all the time!  Seriously, I am addicted to doing this…I had a hard time deciding what photos to show for this post!  This is one of my favorite things to do with photography!

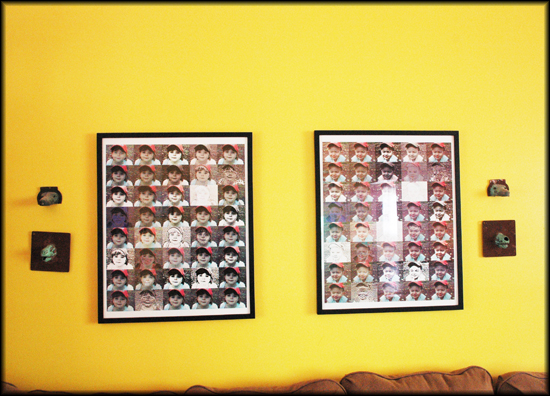
One of my favorite “then and now” photos is a photograph that I took of my oldest daughter when she was about 2 1/2 years old.  I loved this photo so much and played around with it in Photoshop…..then my husband surprised me by having it made into a poster.  When my son was the exact same age, I redid the photo…..and my husband again had it made into a poster.  I was so excited to redo the photo when my daughter was the same age…I literally counted down the days….but I no longer had the same hat and we didn’t live in the same house….so it looks slightly different.  But all three photos were taken when they were almost exactly the same age….2 years, 11 months and 25 days….

The photo montages hang in our living room…..we haven’t gotten River’s made into a poster yet…..some day soon….

The

Running gear….on a budget…..

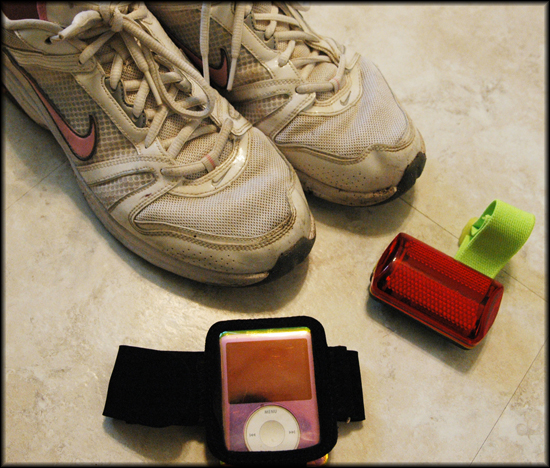
Did I mention that I started running?  Did I mention that I didn’t want to spend any money on running gear?  Well, I probably didn’t mention that I hadn’t bought a new pair of sneakers in about 7 years…..so I needed a new pair of running shoes.  Well, I have a hard time finding a pair of sneakers that I think are comfortable.  I didn’t want to spend $100 on a pair of shoes, only to discover in a week that they weren’t comfortable.  So, I did what I always did…I went to the thrift store!  I found a near-brand new pair of Nike Air running shoes in my size…for only $10!!  and they fit perfectly.  They are probably one of the most comfortable shoes I have ever worn…so far, I am loving them!

Then, I decided I wanted to listen to music while I was running…so I borrowed Tuesday’s old ipod..which is now River’s ipod…(she said I could borrow it!)….and I needed an ipod holder.  Well, there are a million ipod holders out there and I searched and searched..and finally, after reading a million reviews…decided to get this holder….the Aztech Accessories iPod Nano 3rd Generation Armband…..I decided to splurge..it was $2.71!  And it has worked out great.  The velcro is strong and makes it easy to adjust the tightness of the armband.  Some people, in the reviews, complained that the plastic cover made it hard to use the ipod’s wheel..but I think that would be true for any cover….

I run mostly at night and I really needed some type of flashing light for visibility…..I wear mostly dark colors and I didn’t think I was getting noticed by the cars at night….I did some research, and again, there were tons of options..all different prices…..I wanted something that used AA batteries because I wanted to be able to recharge them..I didn’t want to have to constantly buy those watch batteries…anyway, I found this flashing LED light…for only $2.99.  I ordered three.  And, though it is a bit heavy..it is great.  It came with an armband and it is exactly what I wanted.

So, since I started running, I have invested about $25 in gear….not bad…..

Beer Bread in the Bread Machine…..

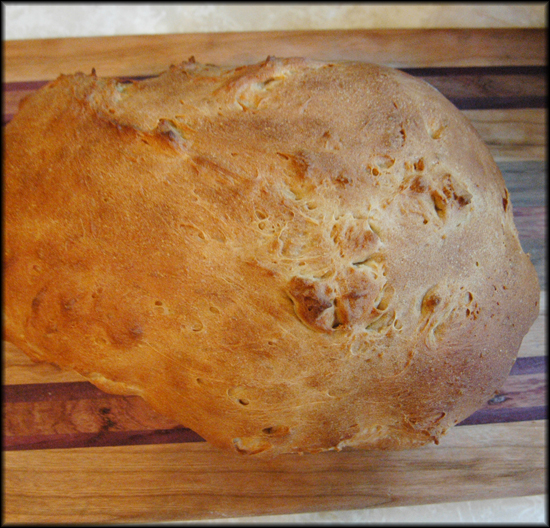
Over the weekend, I tried another bread recipe….beer bread.  I have never made a beer bread nor eaten a beer bread, though I have heard many people mention it.  I am not a beer fan..I think even the smell of beer is unpleasant….but I wanted to give it a try….

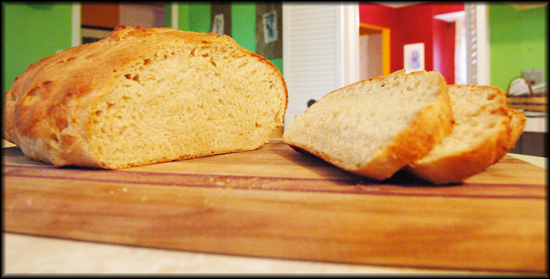
I actually made two loaves of the bread.  The first time I made the recipe, I used a Belgium wheat beer, which my husband said is delicious.  The second time I made the beer, I used an organic India pale ale….that supposedly has a very strong, bitter taste.  There was a slight difference between the two loaves, but I still thought each was delicious.  My daughter, Tuesday, did not like the second loaf at all…she said it was not nearly as good as the first.  So, when you are making the bread, you do have to consider the type of beer you are using.

But, in general, I thought the bread was delicious and very “robust”….it was a good, thick bread that I thought was perfect for sandwiches.

Basic Beer Bread in a Bread Maker

Ingredients

  • 12 oz. can or bottle of room temperature beer
  • 2 tbsp. vegetable oil
  • 2 tbsp. dark brown sugar or honey
  • 1 tsp. salt
  • 3 cups all-purpose flour
  • 1 packet or 2 1/4 tsp. active dry yeast

Directions

1.  Open the beer and pour it into a bowl. Whisk to get out as much of the carbonation as possible.

2.  Pour the flat beer into the “bread bucket” in your bread machine. Add the oil, flour, salt, brown sugar or honey,  and yeast. You can add the dry ingredients in any order, and there’s no need to stir.

3.  Set the bread machine to run on the “basic” or white bread, dough cycle.

4.  Bake at 375° for approximately 15-20 minutes or until golden brown.

Park…..

About a month ago, I discovered running.  My husband has been running for awhile, but I had never tried it.  I normally run at night, because that is when I have the time…after the children are all in bed.  But the other day I “acquired” a jogging stroller……okay, someone in my neighborhood was throwing it away….it is in perfect condition….it looks like they never used it…just left it outside…it was a bit rusty and faded…but the wheels looked brand new…after I pumped them up!!

So, now that I have a jogging stroller..I can run during the day with River!  It is a completely different workout!

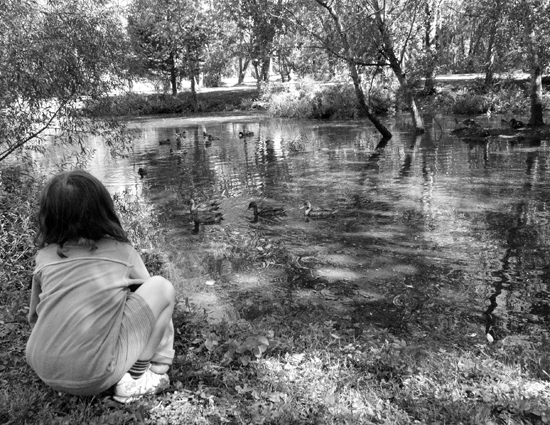
About two months ago, Christopher and Quinn, discovered a little park by us…we never knew it was there!  Isn’t it funny how you can live somewhere and not even know something exists!  It is now one of our favorite places..especially since I can run there, River can play, and then I can run home…and my work out is done!

Shoot Along Challenge…..

So, last Wednesday, over at Giverslog, Amberlee and Carrie Butler had a shoot along challenge…..pick a time of day and take a photograph at that time of day, for a particular amount of days…..

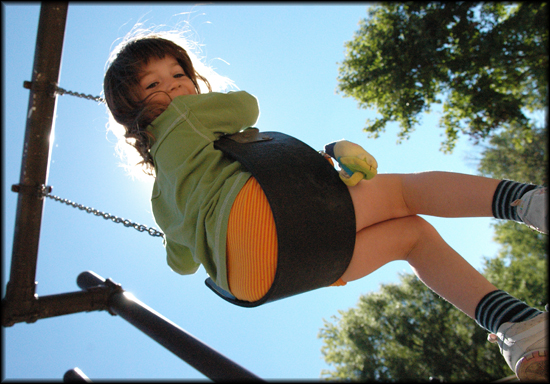
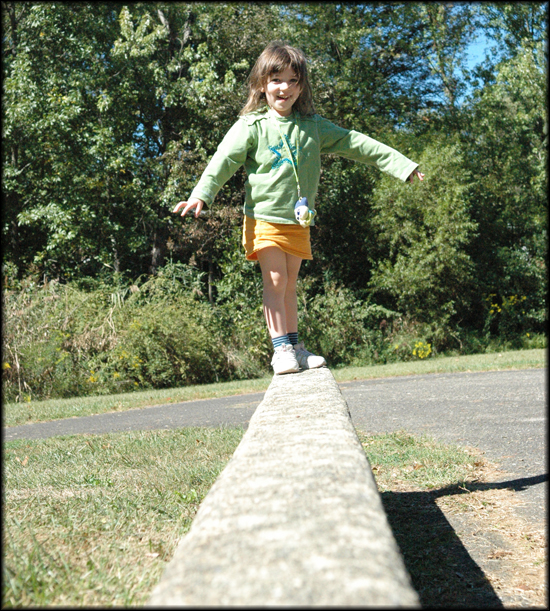
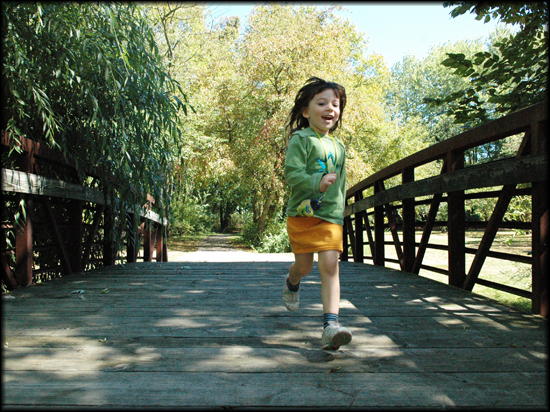
So, I decided to photograph River, for five days, not including the weekend….at 5 pm.  I thought it would be best to only do a small amount of days the first time I did this!!  It was hard to remember some days because that time of day is so busy!  I often had to set a timer, write myself a note….or just leave the camera out as a reminder!

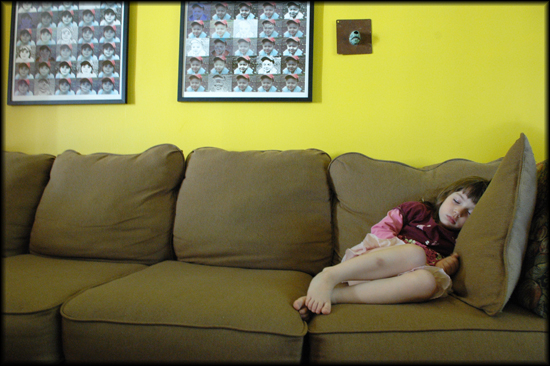
But it was worth it…..!!  I photographed her just as she was…..not giving her any direction and it was amazing how different each photo is……

Dying Uggs with Rit Dye…..

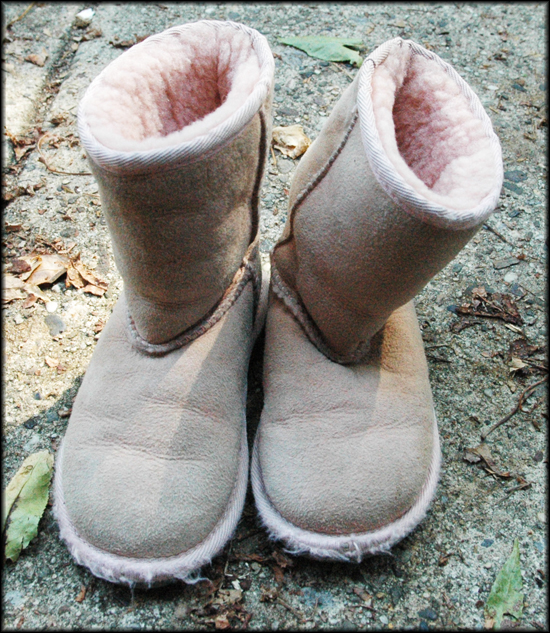
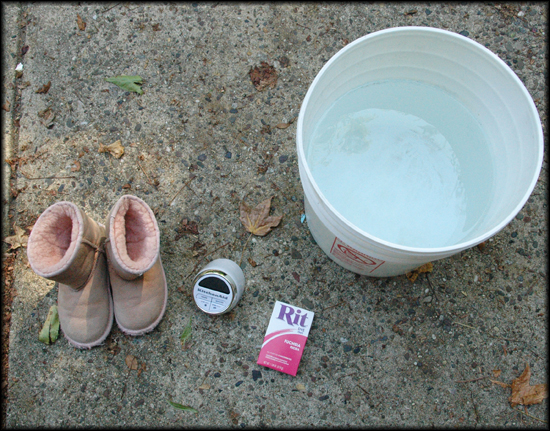
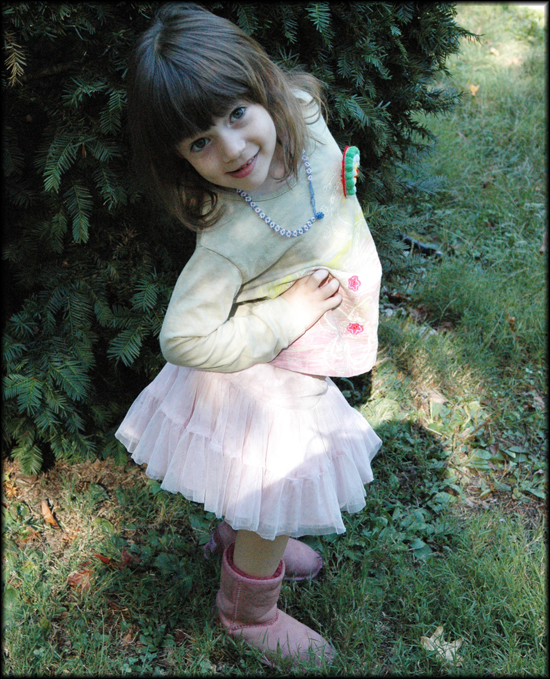
So, I found a pair of  Uggs for River at the local thrift shop…for $9.99.  They were quite dirty looking…..and the exact same color as her other pair that I had found at the thrift shop.  So, I decided to dye them bright pink…using Rit dye.  I found this article on ehow about how to dye Ugg boots.   So, we decided to go for it.  The only pink our local shop had was fuchsia……so, that is the color we went with.

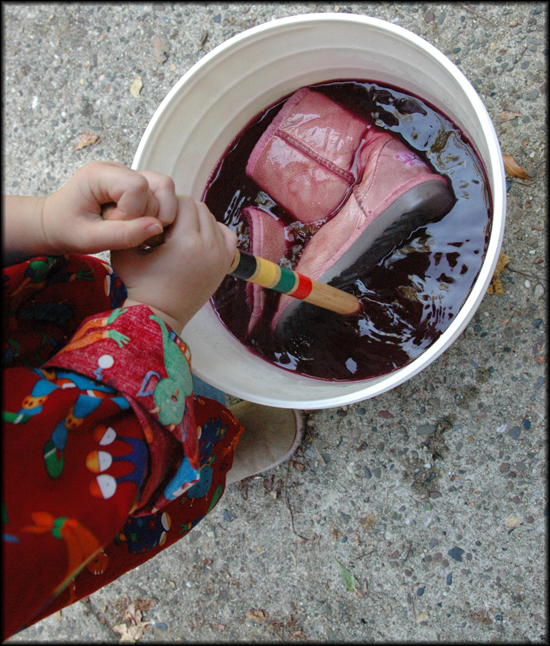
First, we filled up a giant bucket with hot water…then we added the dye..and stirred it all up.   Then, we threw in the boots…and stirred and stirred….but they kept floating..so we had to smoosh them and smoosh them and they kept floating.  So, I took a big rock and put it on top of them!

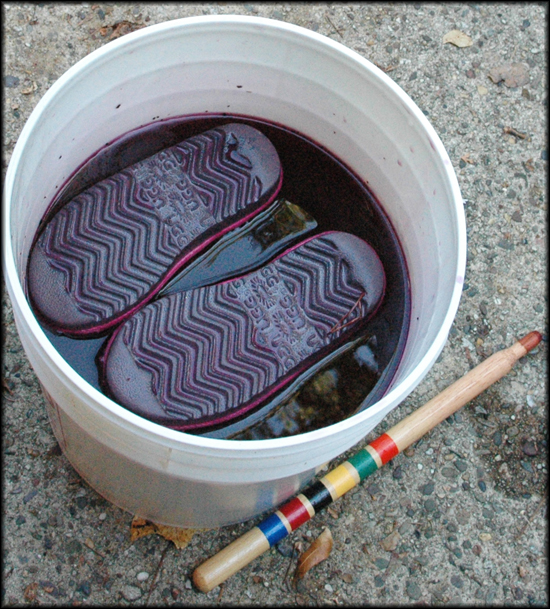
Then I remembered the one step that we forgot….we were supposed to soak the Uggs in regular water first, to get them water-logged…..that would have made things so much easier…because when they were finally water-logged..they floated perfectly…..soles up!!

So, the next time…we’ll make sure we remember to soak the Uggs in regular water first!

We let them soak for 30 minutes..but didn’t think they were dark enough..so we waited another 30 minutes.  When we took them out they looked very pink!

It only took them about 3 sunny days to dry!  I thought it would take much longer for them to get thoroughly dry…especially the fluffy insides.

Well, I think they look great..and River likes them too!  Now, we are going to dye her other pair purple!

Bread continued…..

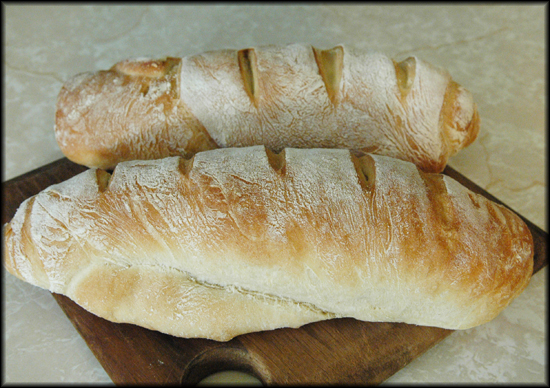
So, I looked up a list of different types of bread and I decided I wanted to work my way through it.  I’m mainly interested in breads that I can adapt for my bread machine.  And some of the breads I’m just not interested in…like bagels and things.  So, the first type of bread, on the list, that I made was a baguette.  On the first try, I think it turned out really well.  I really liked the recipe that I used and I thought it was very easy to do…we ended up slicing each loaf in half and making it into baguette pizzas….very delicious and incredibly crunchy on the outside and soft on the inside!  So delicious!

So, here is the recipe:

French Baguettes in the bread machine

Ingredients:

1 cup water

3 cups bread flour

1 tablespoon white sugar

1 teaspoon salt

1 1/2 teaspoons bread machine yeast

Optional:

1 egg yolk

1 tablespoon water

Directions:

1.  Place 1 cup water, bread flour, sugar, salt and yeast into bread machine pan in the order recommended by manufacturer. Select French and Dough cycle, and press Start.

2.  When the cycle has completed, place dough in a greased bowl, turning to coat all sides. Cover, and let rise in a warm place for about 30 minutes, or until doubled in bulk. Dough is ready if indentation remains when touched.

3.  Punch down dough. On a lightly floured surface, roll into a 16×12 inch rectangle. Cut dough in half, creating two 8×12 inch rectangles. Roll up each half of dough tightly, beginning at 12 inch side, pounding out any air bubbles as you go. Roll gently back and forth to taper end. Place 3 inches apart on a greased cookie sheet. Make deep diagonal slashes across loaves every 2 inches, or make one lengthwise slash on each loaf. Cover, and let rise in a warm place for 30 to 40 minutes, or until doubled in bulk.

4.  Preheat oven to 355 degrees F.  (Optional:   Mix egg yolk with 1 tablespoon water; brush over tops of loaves.)

5.  Bake for 20 to 25 minutes in the preheated oven, or until golden brown.

Printed from Allrecipes.com

First Days continued…..

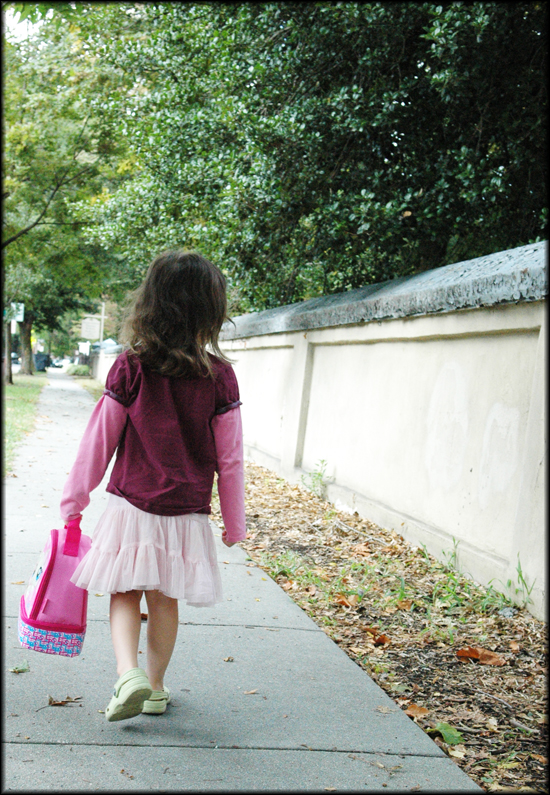
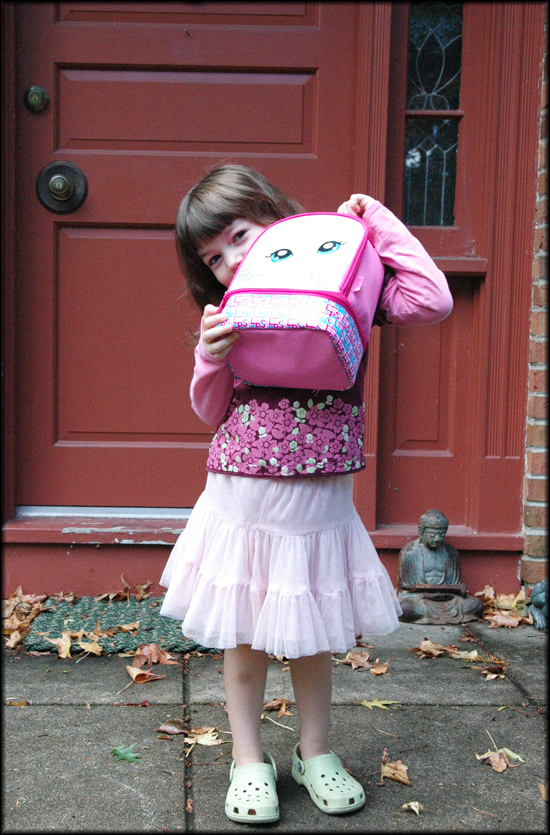
Today was River’s first day of art class.  She was so excited to start going again.  She only goes once a week, but she gets to eat lunch there…..she was very excited to get a new lunch box!

And since we don’t have to arrive until 12:15…..it was a VERY long morning…waiting and waiting….finally, though, the time did arrive…..

When River got home from art class..she had this picture for Quinn…it is a picture of him riding his bike in a rain storm…..(yesterday he went out bike riding and got caught in a bad rain storm!)

A tree…..

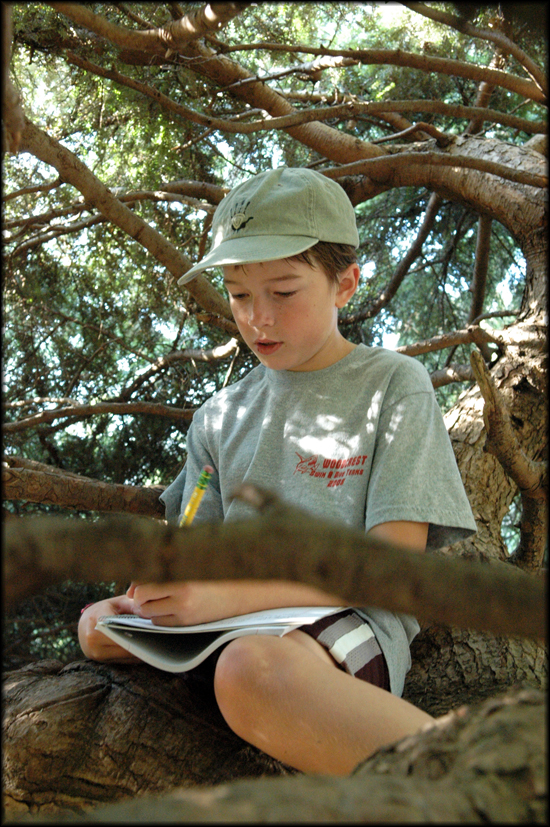
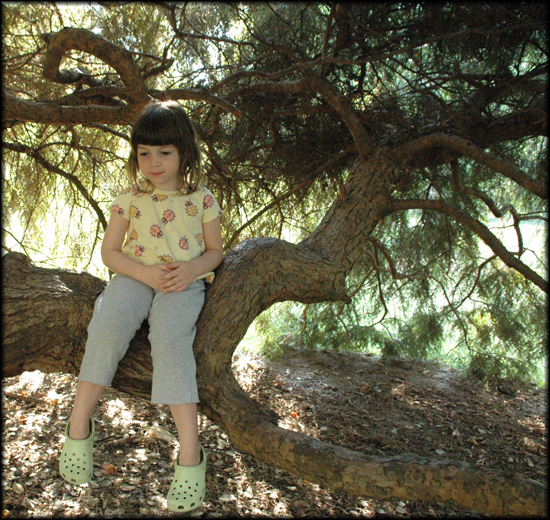
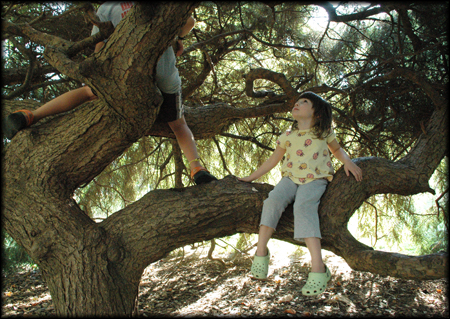
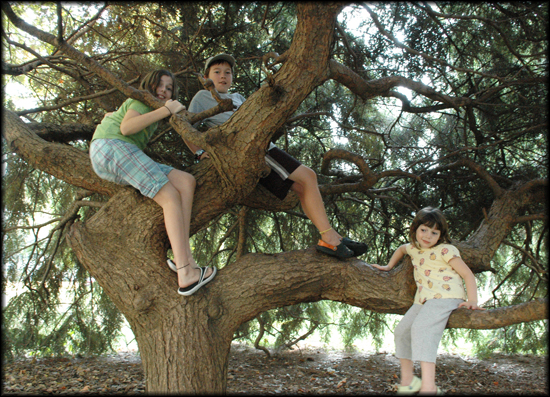
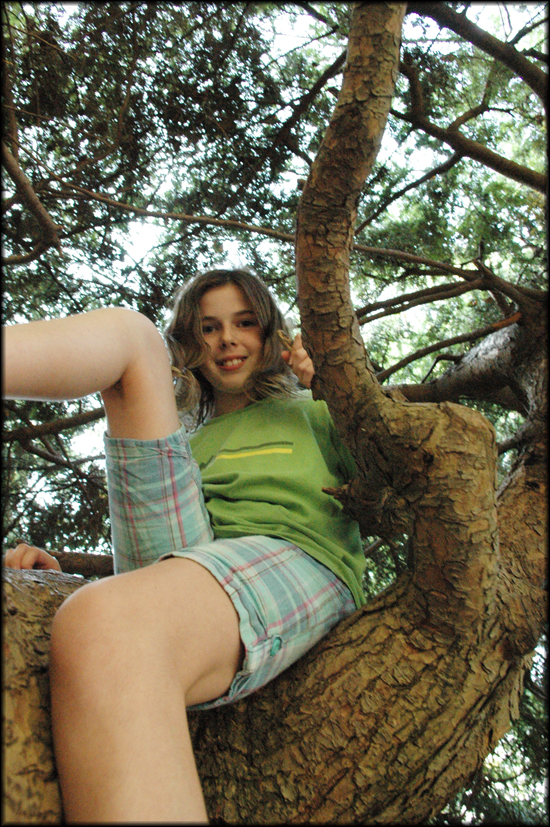
Tuesday has been going to violin lessons at an art center since she was six.  On their beautiful property is a wonderful  tree that Tuesday and Quinn have always loved to climb.  While Tuesday is having her violin lesson, Quinn likes to sit in the tree and do his homework.   River, of course, also wants to climb the tree…but she isn’t exactly big enough.

She tried and tried to get up on her on..but couldn’t…so she had to agree to let me help her onto the branch.  Once she was on the branch, she was so pleased…but then she realized she wasn’t as high as Quinn…..she says she can’t wait until she is bigger, so she can climb higher.

Tuesday and Quinn still love to climb this tree.  I think because there are so few “good climbing trees” by where we live.  There are a lot of trees…but none of them with wonderful low branches…so you can climb.