So, last week we were all talking about how much we loved the Girl Scout cookies…samoas…and I said I wish I could find a recipe for them. So, my husband found me a recipe on the internet. And we just had to give them a try. This link has incredibly detailed instructions:
http://www.instructables.com/id/Homemade-Samoas-Recipe/
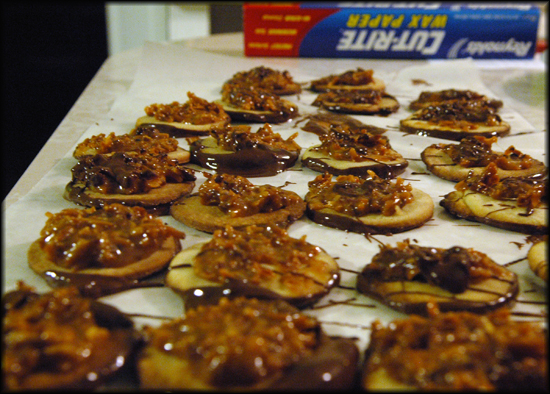
Our samoas did not turn out as pretty as the ones in the recipe or the Girl Scout ones….but they tasted incredible.
I will say that the recipe didn’t make as many as we had hoped. So, the next time we make the recipe..and there will definitely be a next time…we will probably TRIPLE the recipe and maybe try freezing some!
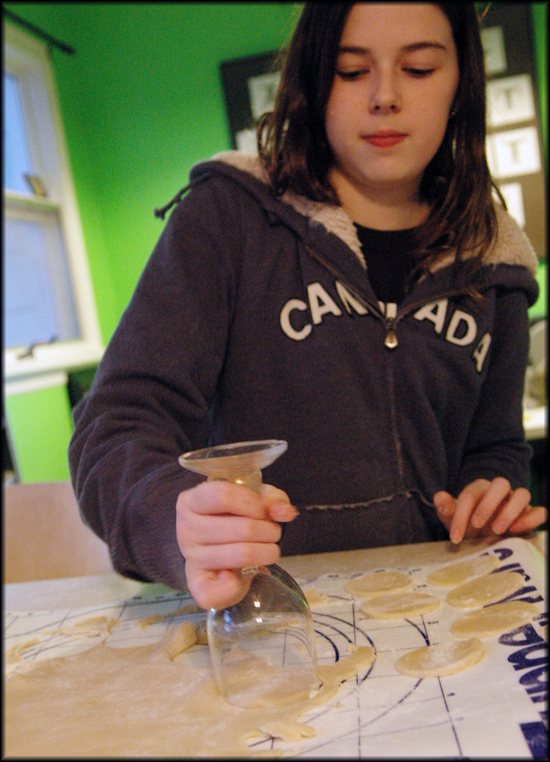
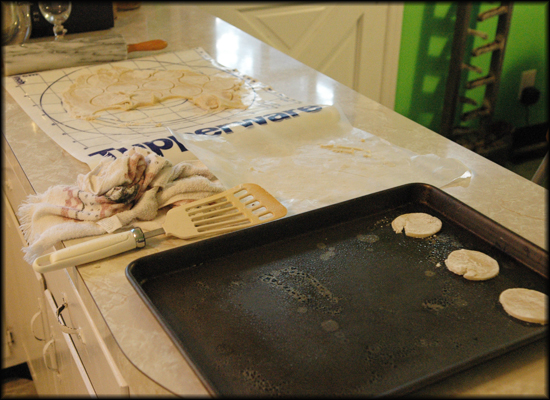
It was definitely a lot of work. There were a lot of steps and it made a huge mess…..another reason for making more..so you don’t have to make them as often. You could probably do the recipe in two days….one day make the cookies..and the next day finish them with all the topppings.
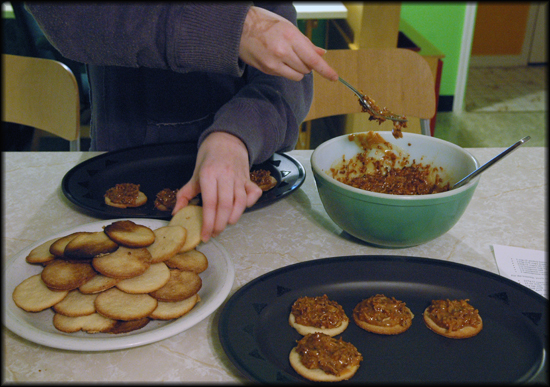
Let’s just say that they are already almost gone! If you are a fan of the Girl Scout Samoas….I highly recommend the recipe!
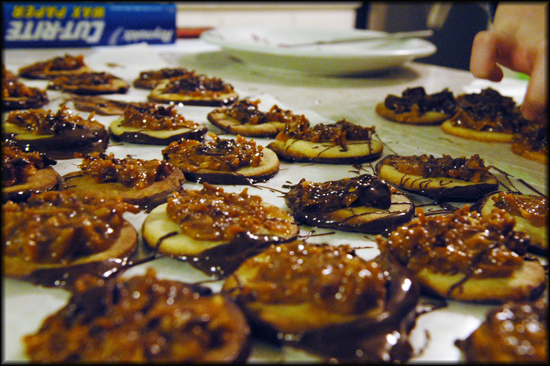
In case you don’t want to click through the whole instructable tutorial…here is the basic recipe…..simplified a bit.
Homemade Samoas
- 1 cup (2 sticks) butter, room temperature
- 115g (1/2 cup) sugar
- 250g (2 cups) all purpose flour
- 1/4 teaspoon baking powder
- 1/2 teaspoon salt
- 1/2 teaspoon vanilla extract
- 2 tablespoons milk
For the topping, you’ll need:
- 225g (3 cups) shredded unsweetened coconut, toasted
- 15-oz soft caramels
- 1/4 tsp salt
- 3 tbsp milk
- 8 oz. dark or semisweet chocolate
Cream together your butter and sugar with a mixer until light and fluffy.
In a separate bowl, whisk together the flour, baking powder, and salt. Slowly add this to the butter mixture.
Finally, at low speed, add in the milk and vanilla.
Wrap the dough in plastic or store in tupperware. Refrigerate until the dough is as firm as a stick of butter.
While the dough is refrigerating, preheat your oven to 350F (180C).
Toast the shredded coconut on a baking sheet for about 10-15 minutes, stirring frequently. Let cool while shaping and baking cookies.
Roll out the dough on a well-floured surface.
Cut out the shapes with a biscuit cutter, or two differently-size round cutters.
Bake your batches of cookies one sheet at a time for 10-12 minutes.
Place your caramels, milk and salt in a microwaveable bowl and nuke for 1 minute at a time, stopping to stir, until nice and melted (3-4minutes). If you’re using homemade caramels, you can reduce the amount of milk and microwave time. If you are using hard caramels, increase the milk.
Stir the toasted coconut into the caramel mixture.
Using a knife, an offset spatula, spread the caramel mixture on top of your cookies. Be generous.
Lay out a sheet of waxed paper for your cookies to rest on once they’re all chocolate-botttomed.
Chop up your chocolate and microwave it in 30 second bursts, stirring between each, until nice and melted.
Dip the bottoms of your cookies into the chocolate and place on waxed paper.
Use the remaining melted chocolate to drizzle over top of the cookies once they’re all dipped. A spoon works for this, but a piping bag or the corner snipped off a plastic baggie makes ’em prettier.
That’s it! Store in an air tight container for best results.
If you have left over caramel and coconut, use a couple spoons or a dough scoop and make little candies out of them. Bon-bon/truffle type candies of caramelly coconutty deliciousness topped in chocolate.


